

Roof hatch leaking
A water leak! Time to reseal the hatch…
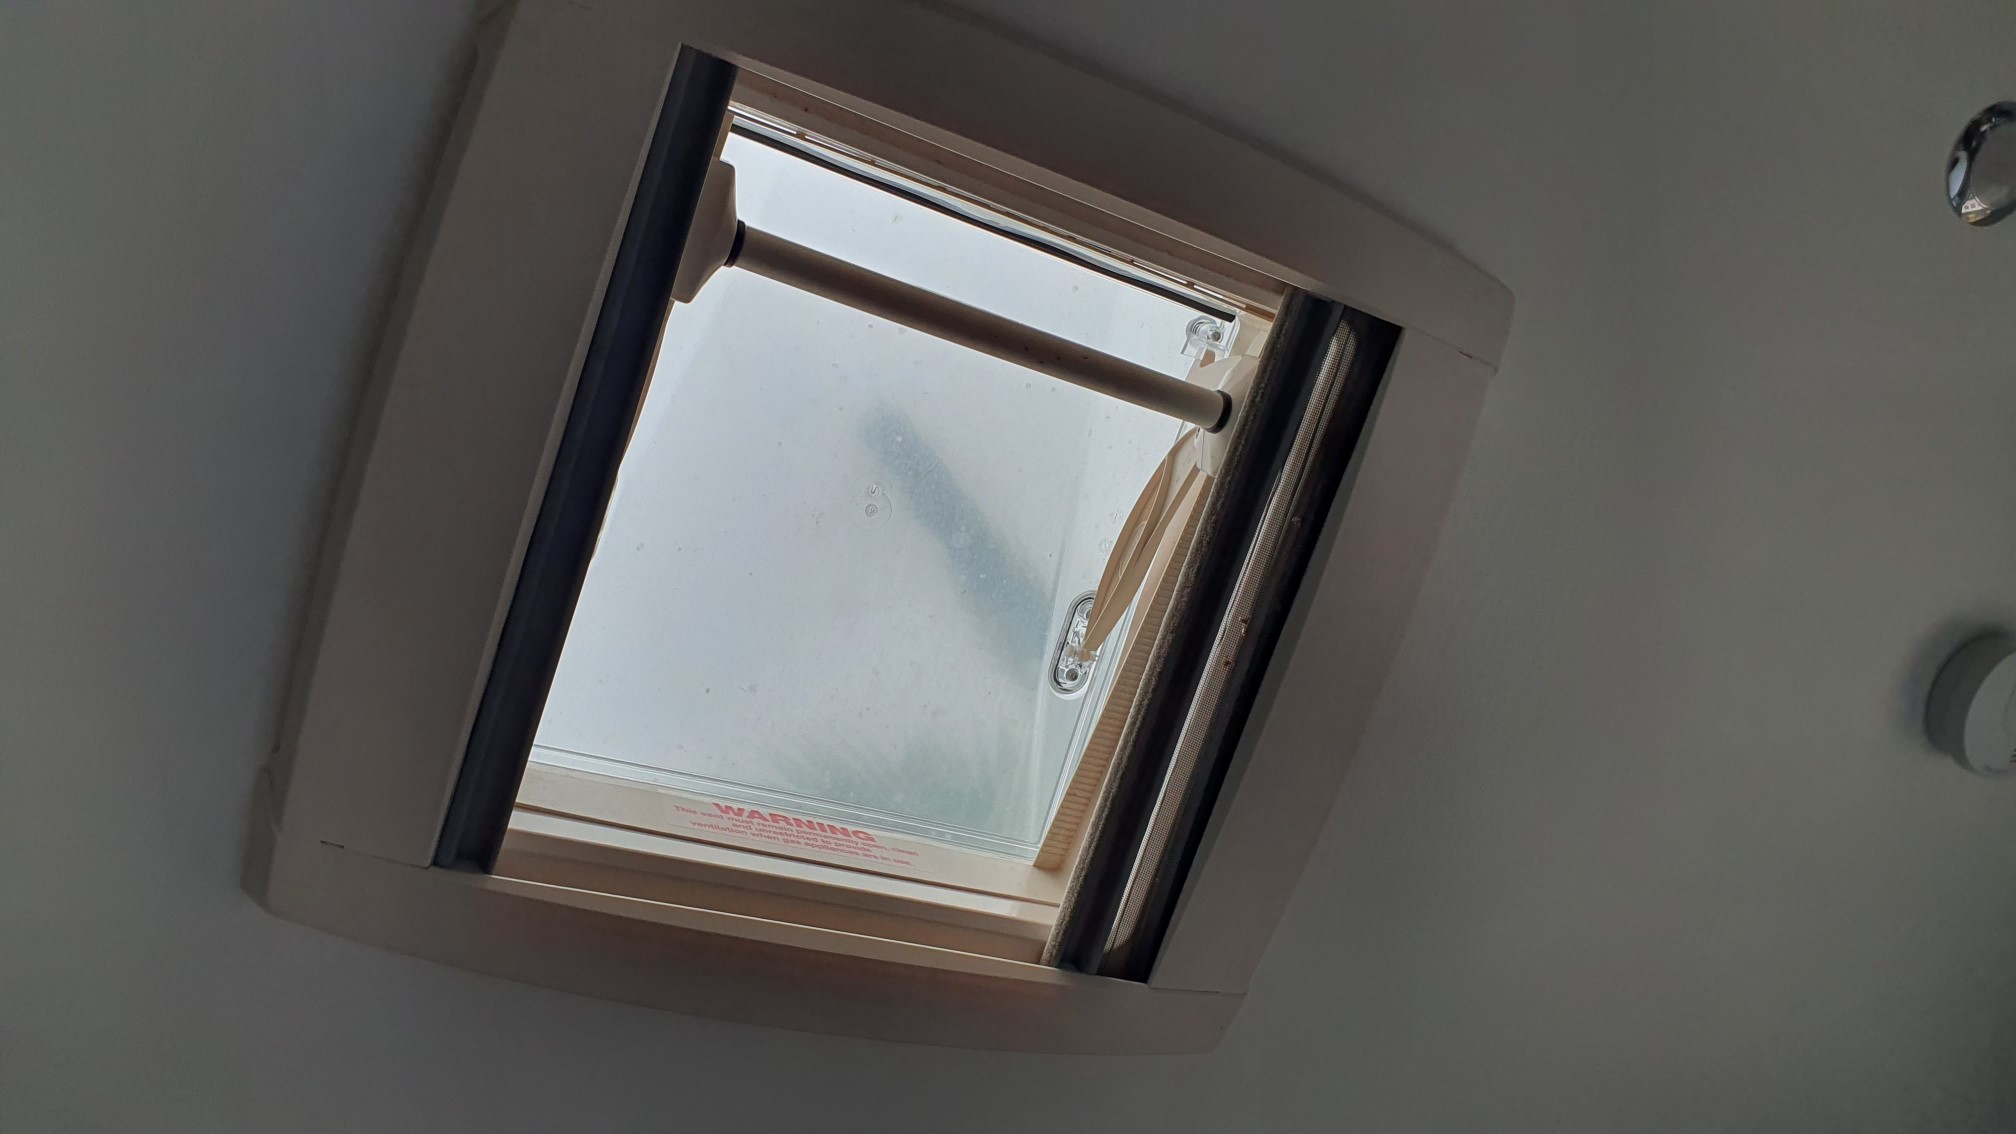
After the first shake down trip we noticed a few drops of water below the main hatch and investigated further. On looking at the hatch from above I discovered several colours and layers of silicone and a grey water proofing spray had been used to try and seal the hatch. So time to bight to the bullet and fix it properly. Note that this particular leak is for when the water is coming out the frame edges of the hatch, not through the middle of the hatch.
At the end of this post I have added another different leak we had, when the clear hatch cover was leaking due to cracks in the top from the screws being to tight, scroll down if you water leaks are drips from the handle or vertical stays.
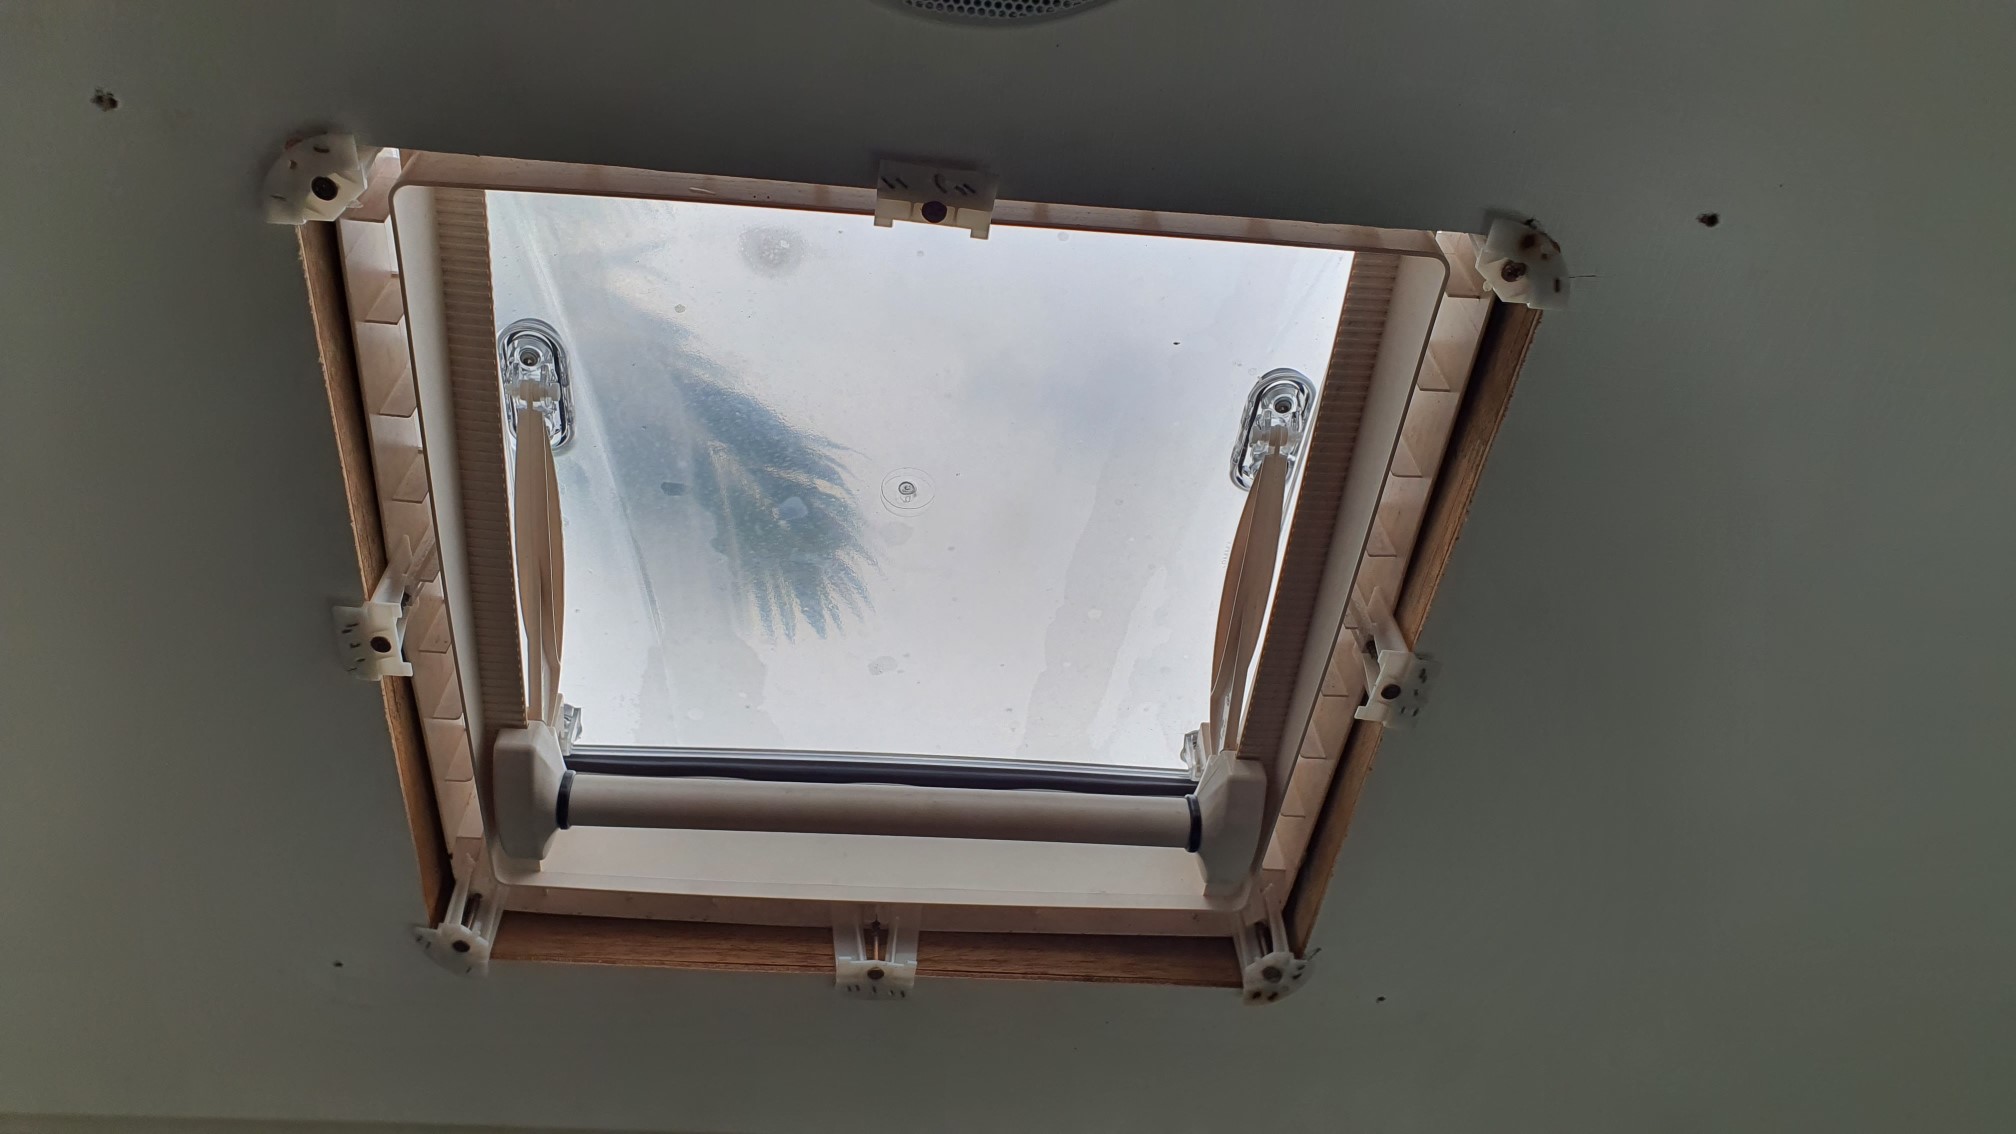
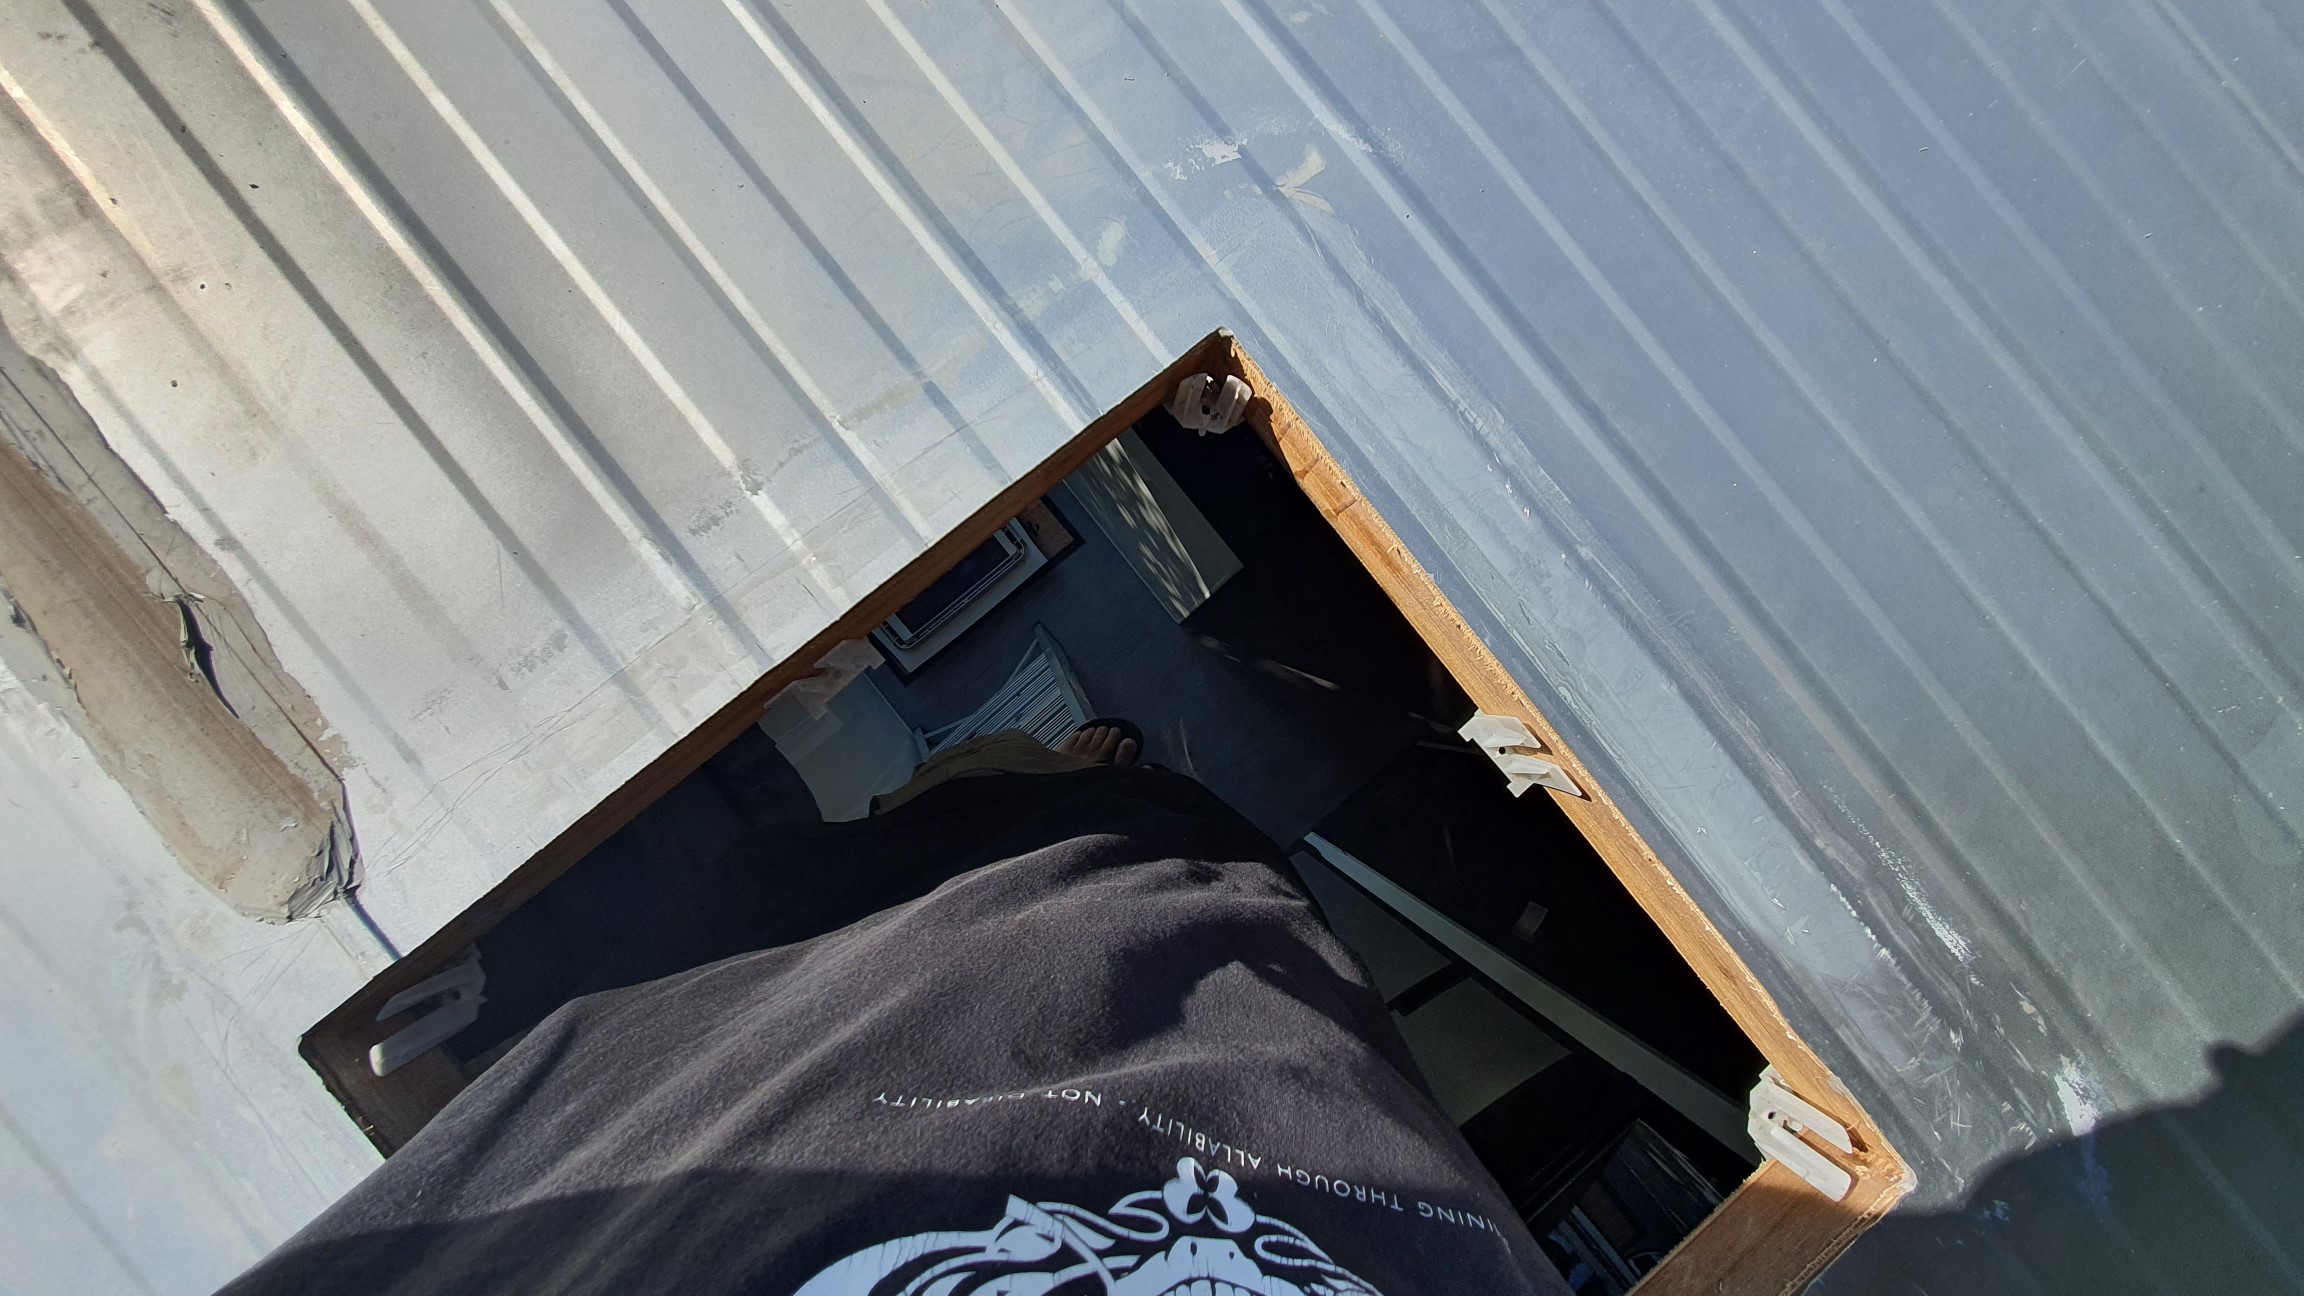
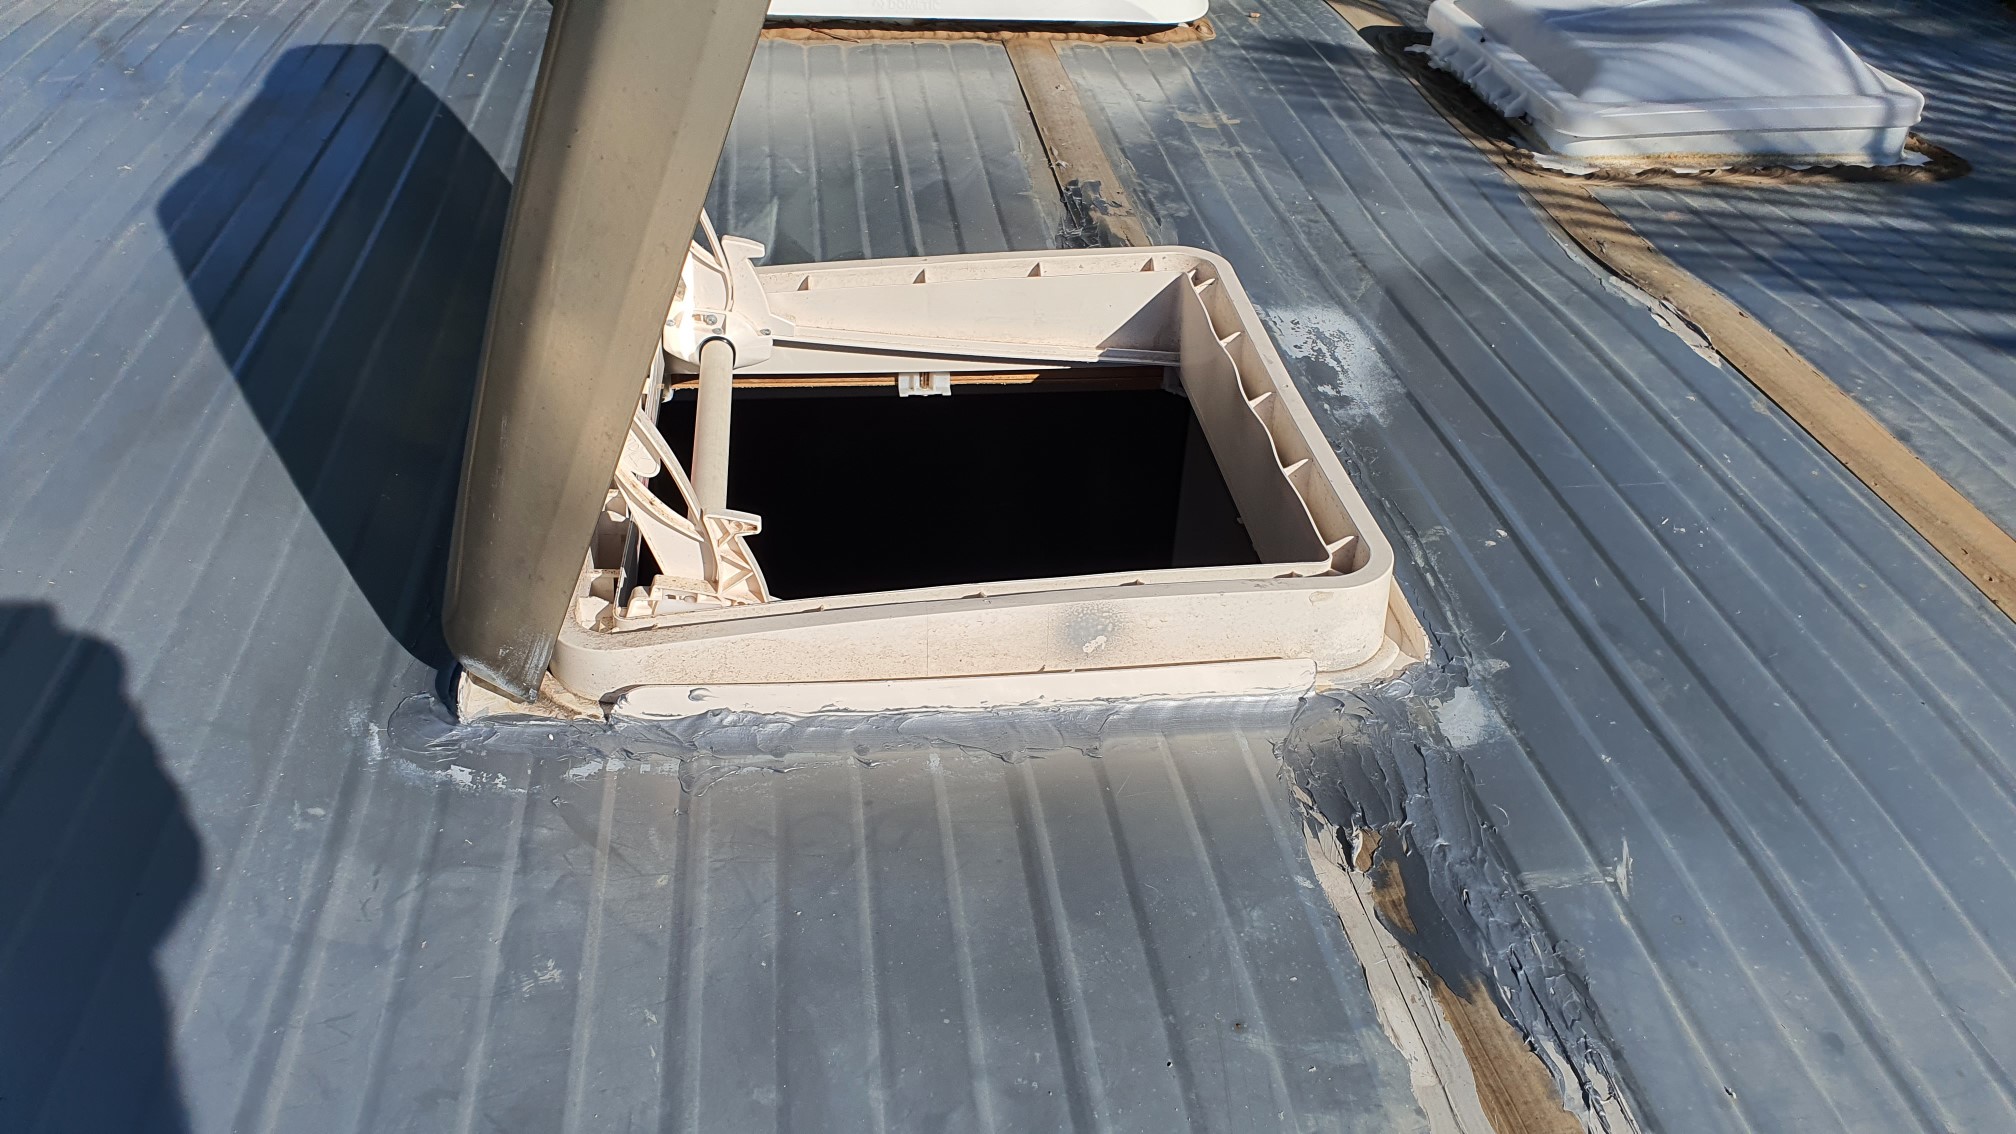
I set about removing the hatch. First the interior trim popped off to reveal the screws holding it in place. Once they were removed the hard part I thought would be separating the hatch from the roof. Boy was I wrong! The silicone was well stuck to the roof, but not at all stuck to the hatch. In fact, there was quite a bit of dirt and dust between the hatch and the silicone, indicating it had been leaking for a while.
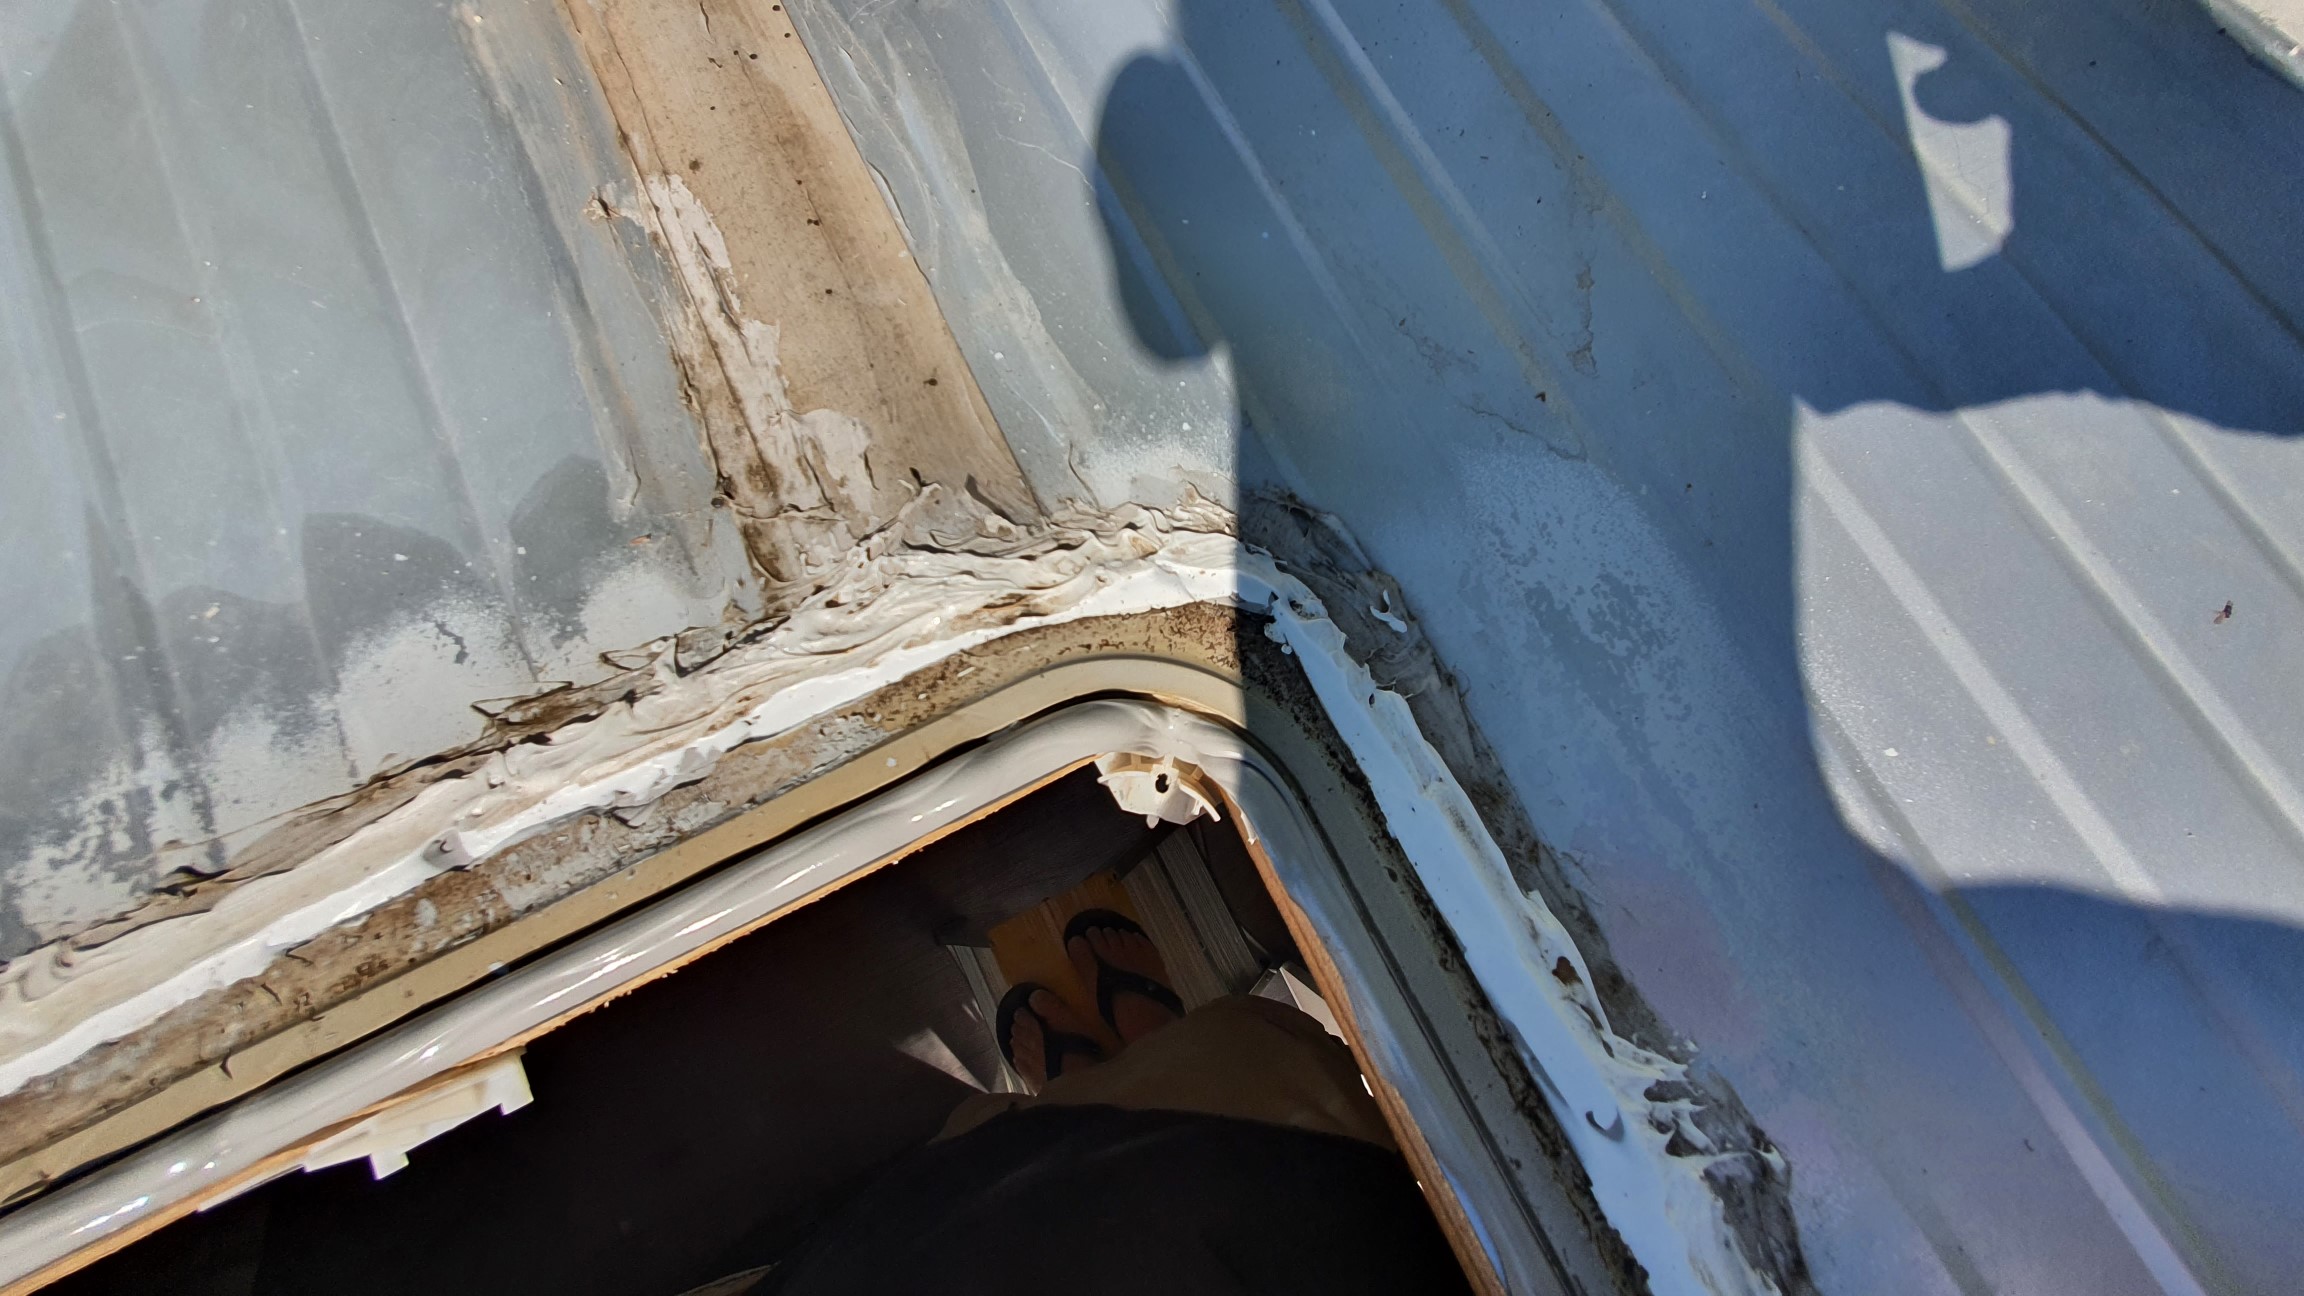
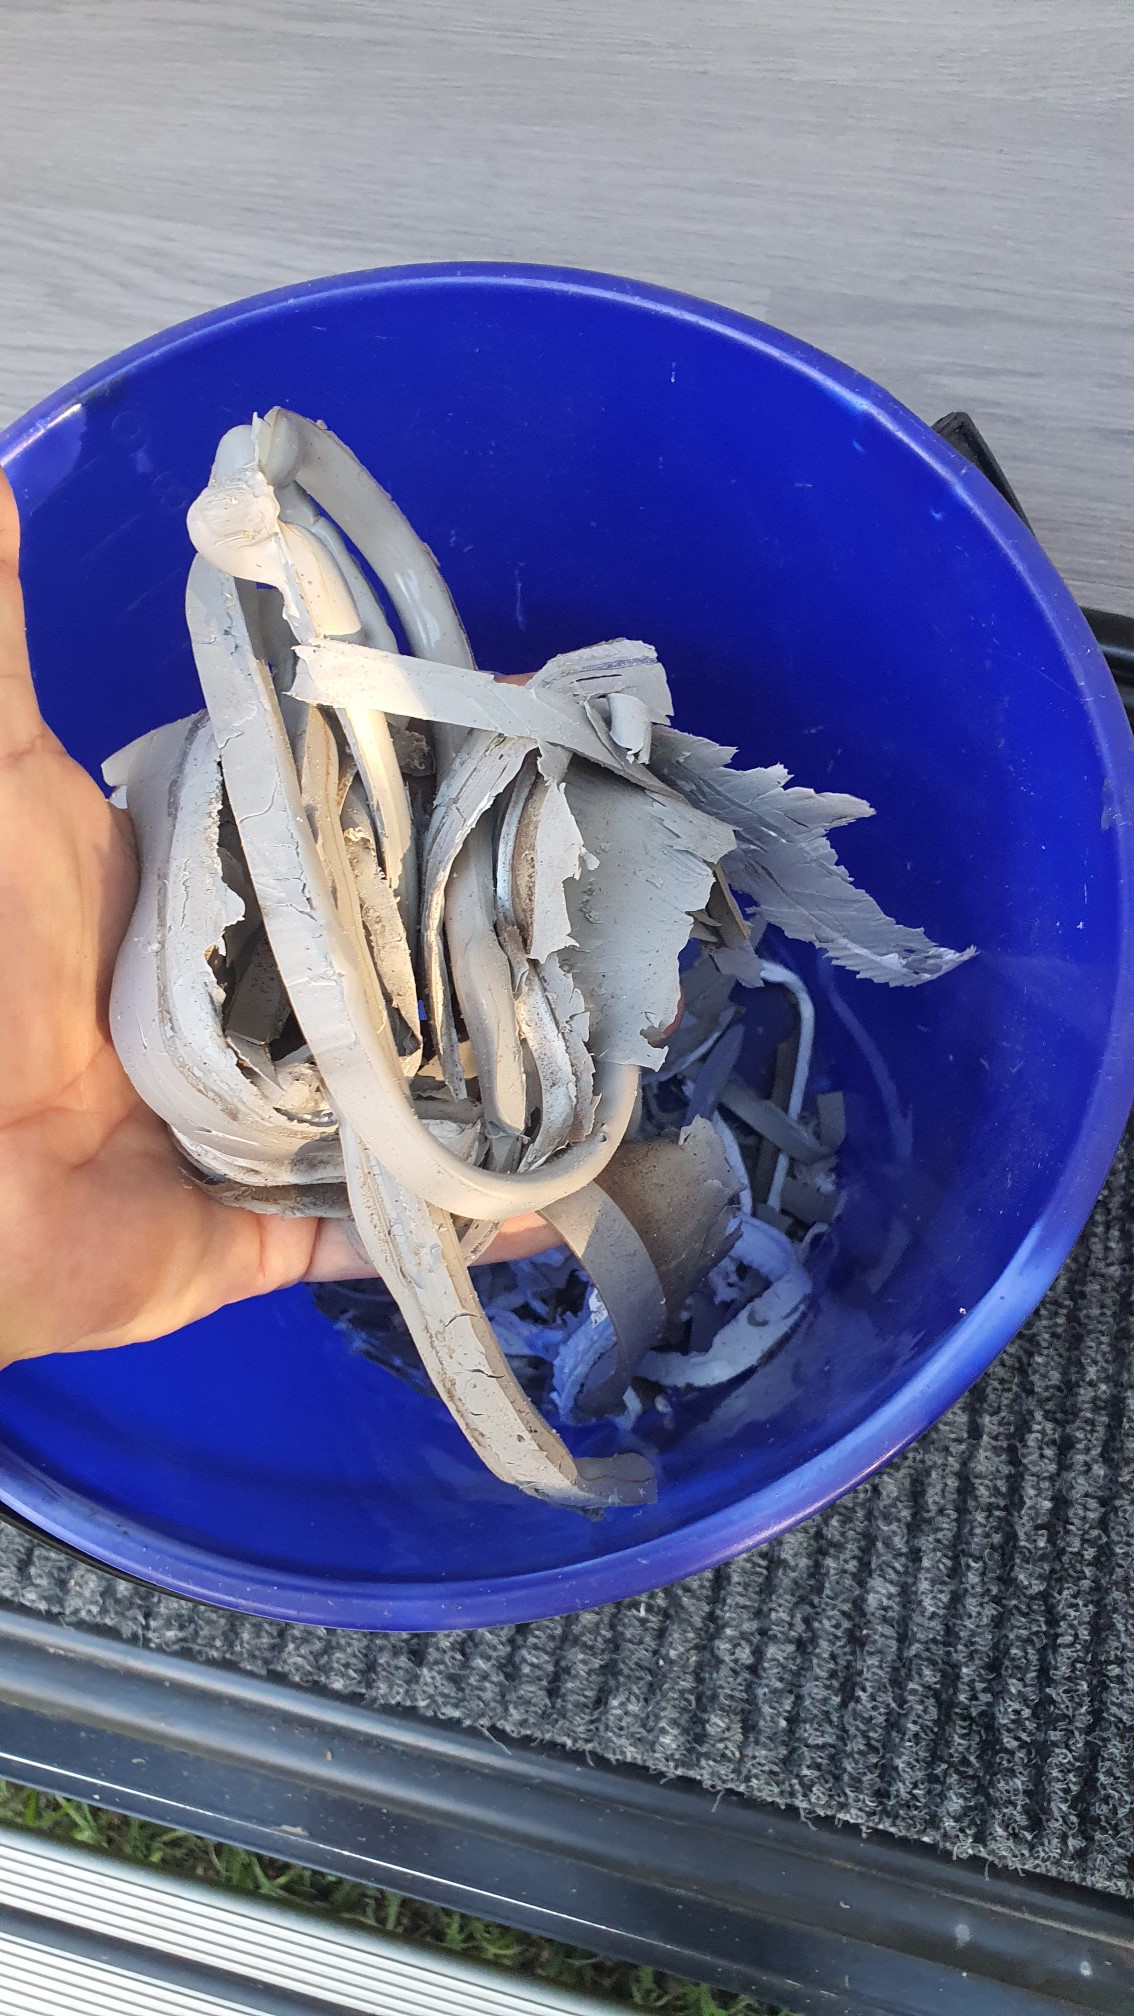
So once the hatch was out, I was standing on a small 3 step ladder and was able to squeeze my shoulders and upper body through the hatch and work on removing the old silicone. A tip I read was to use a filleting knife and that worked a treat.
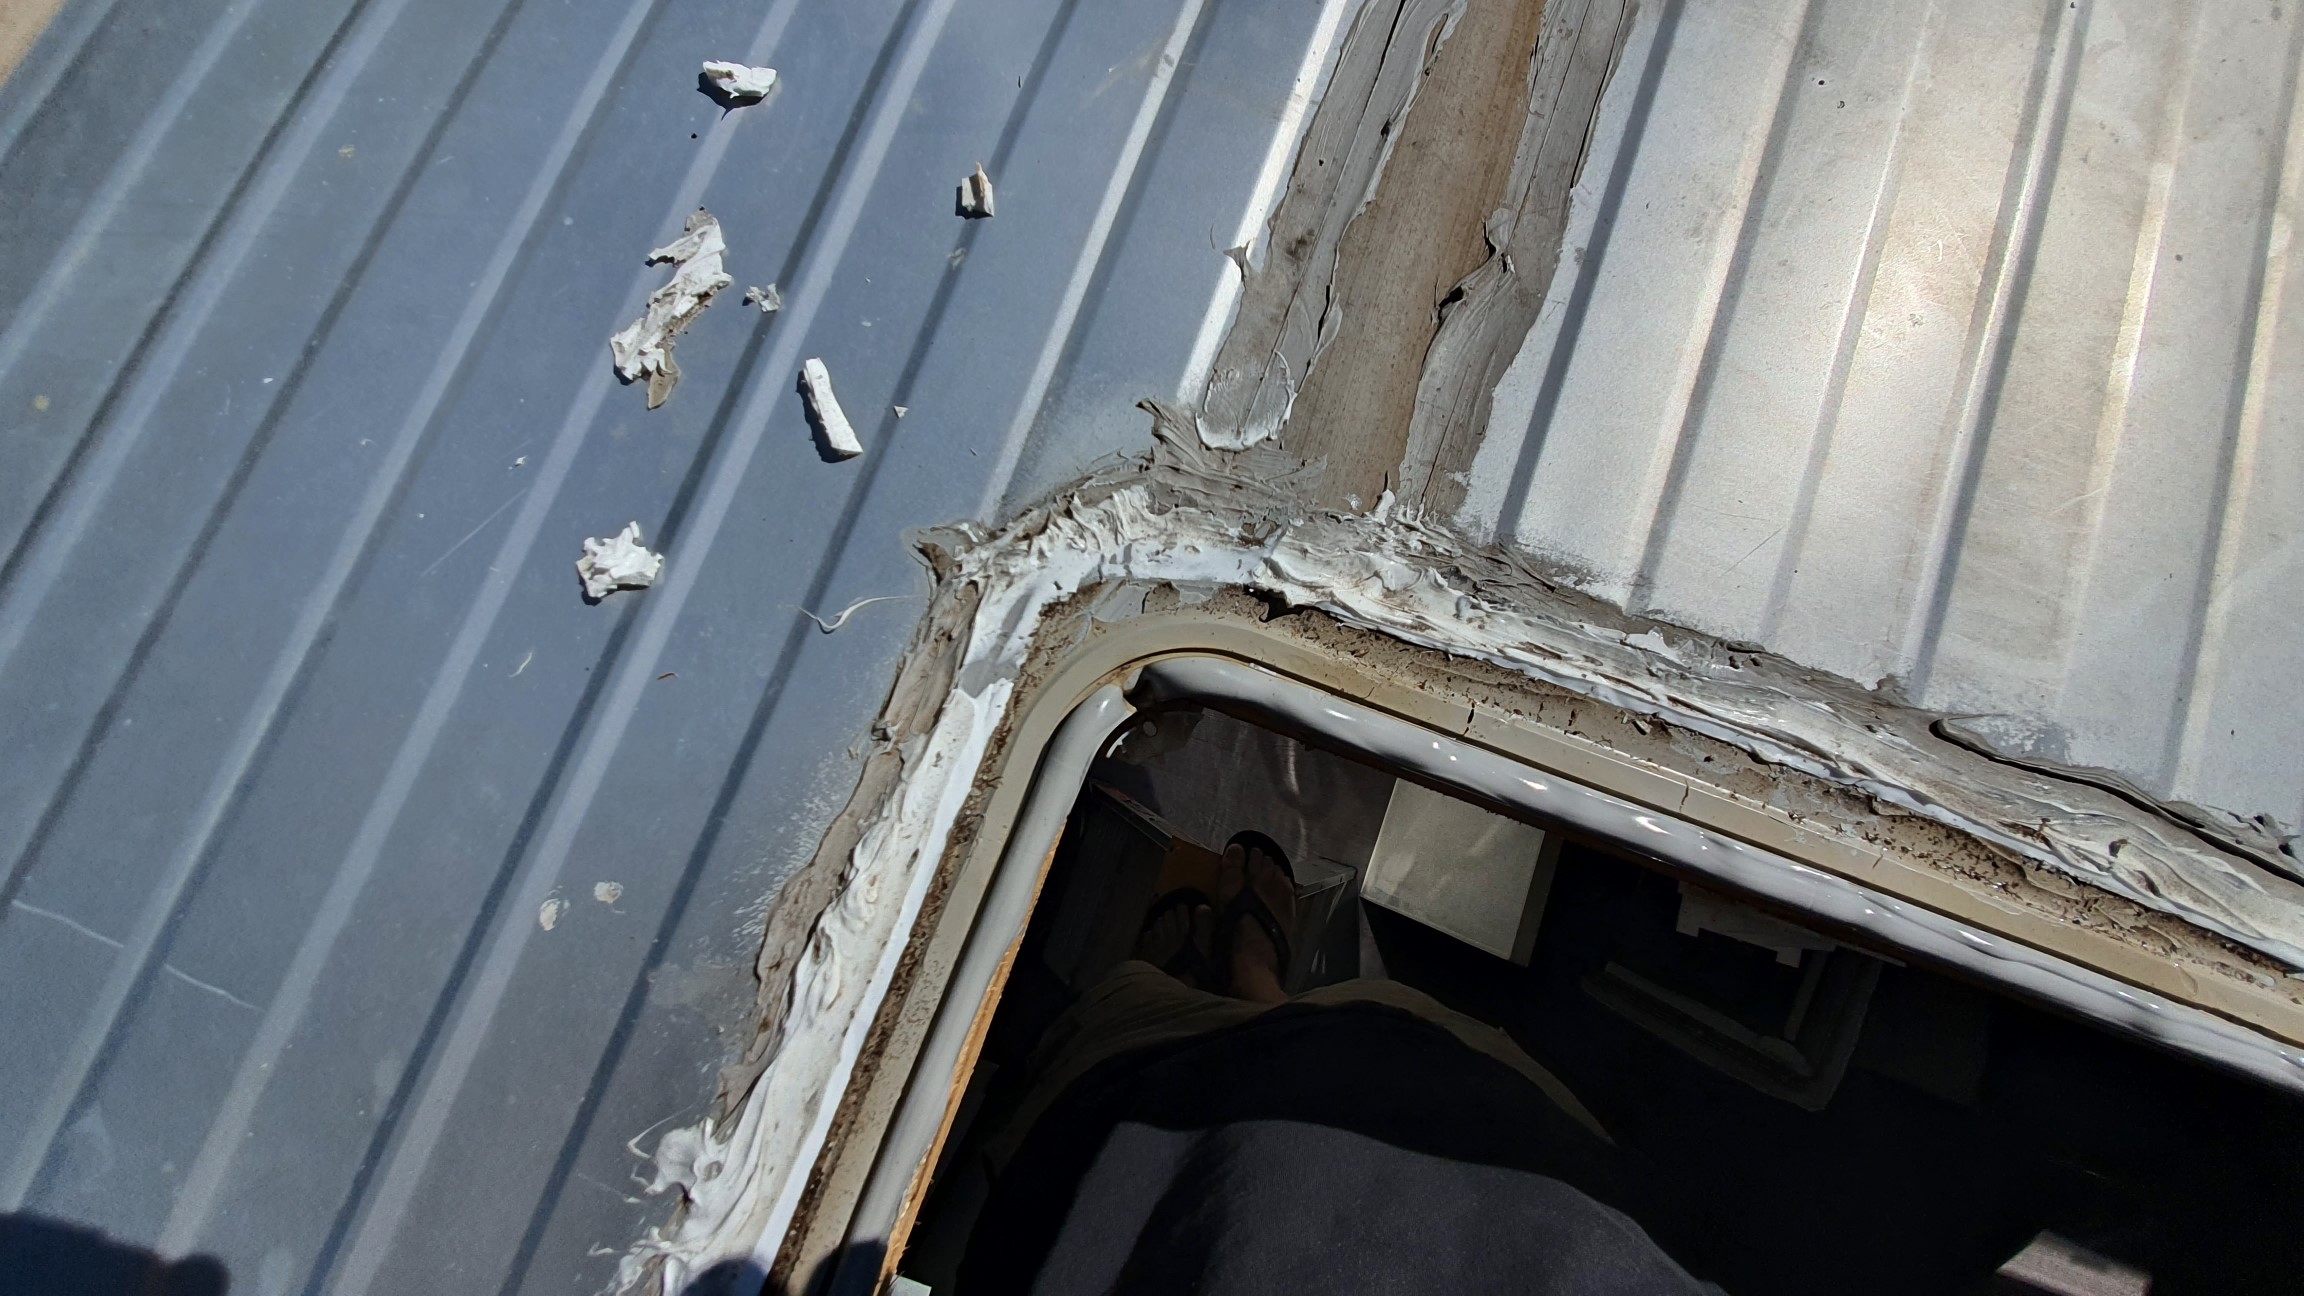
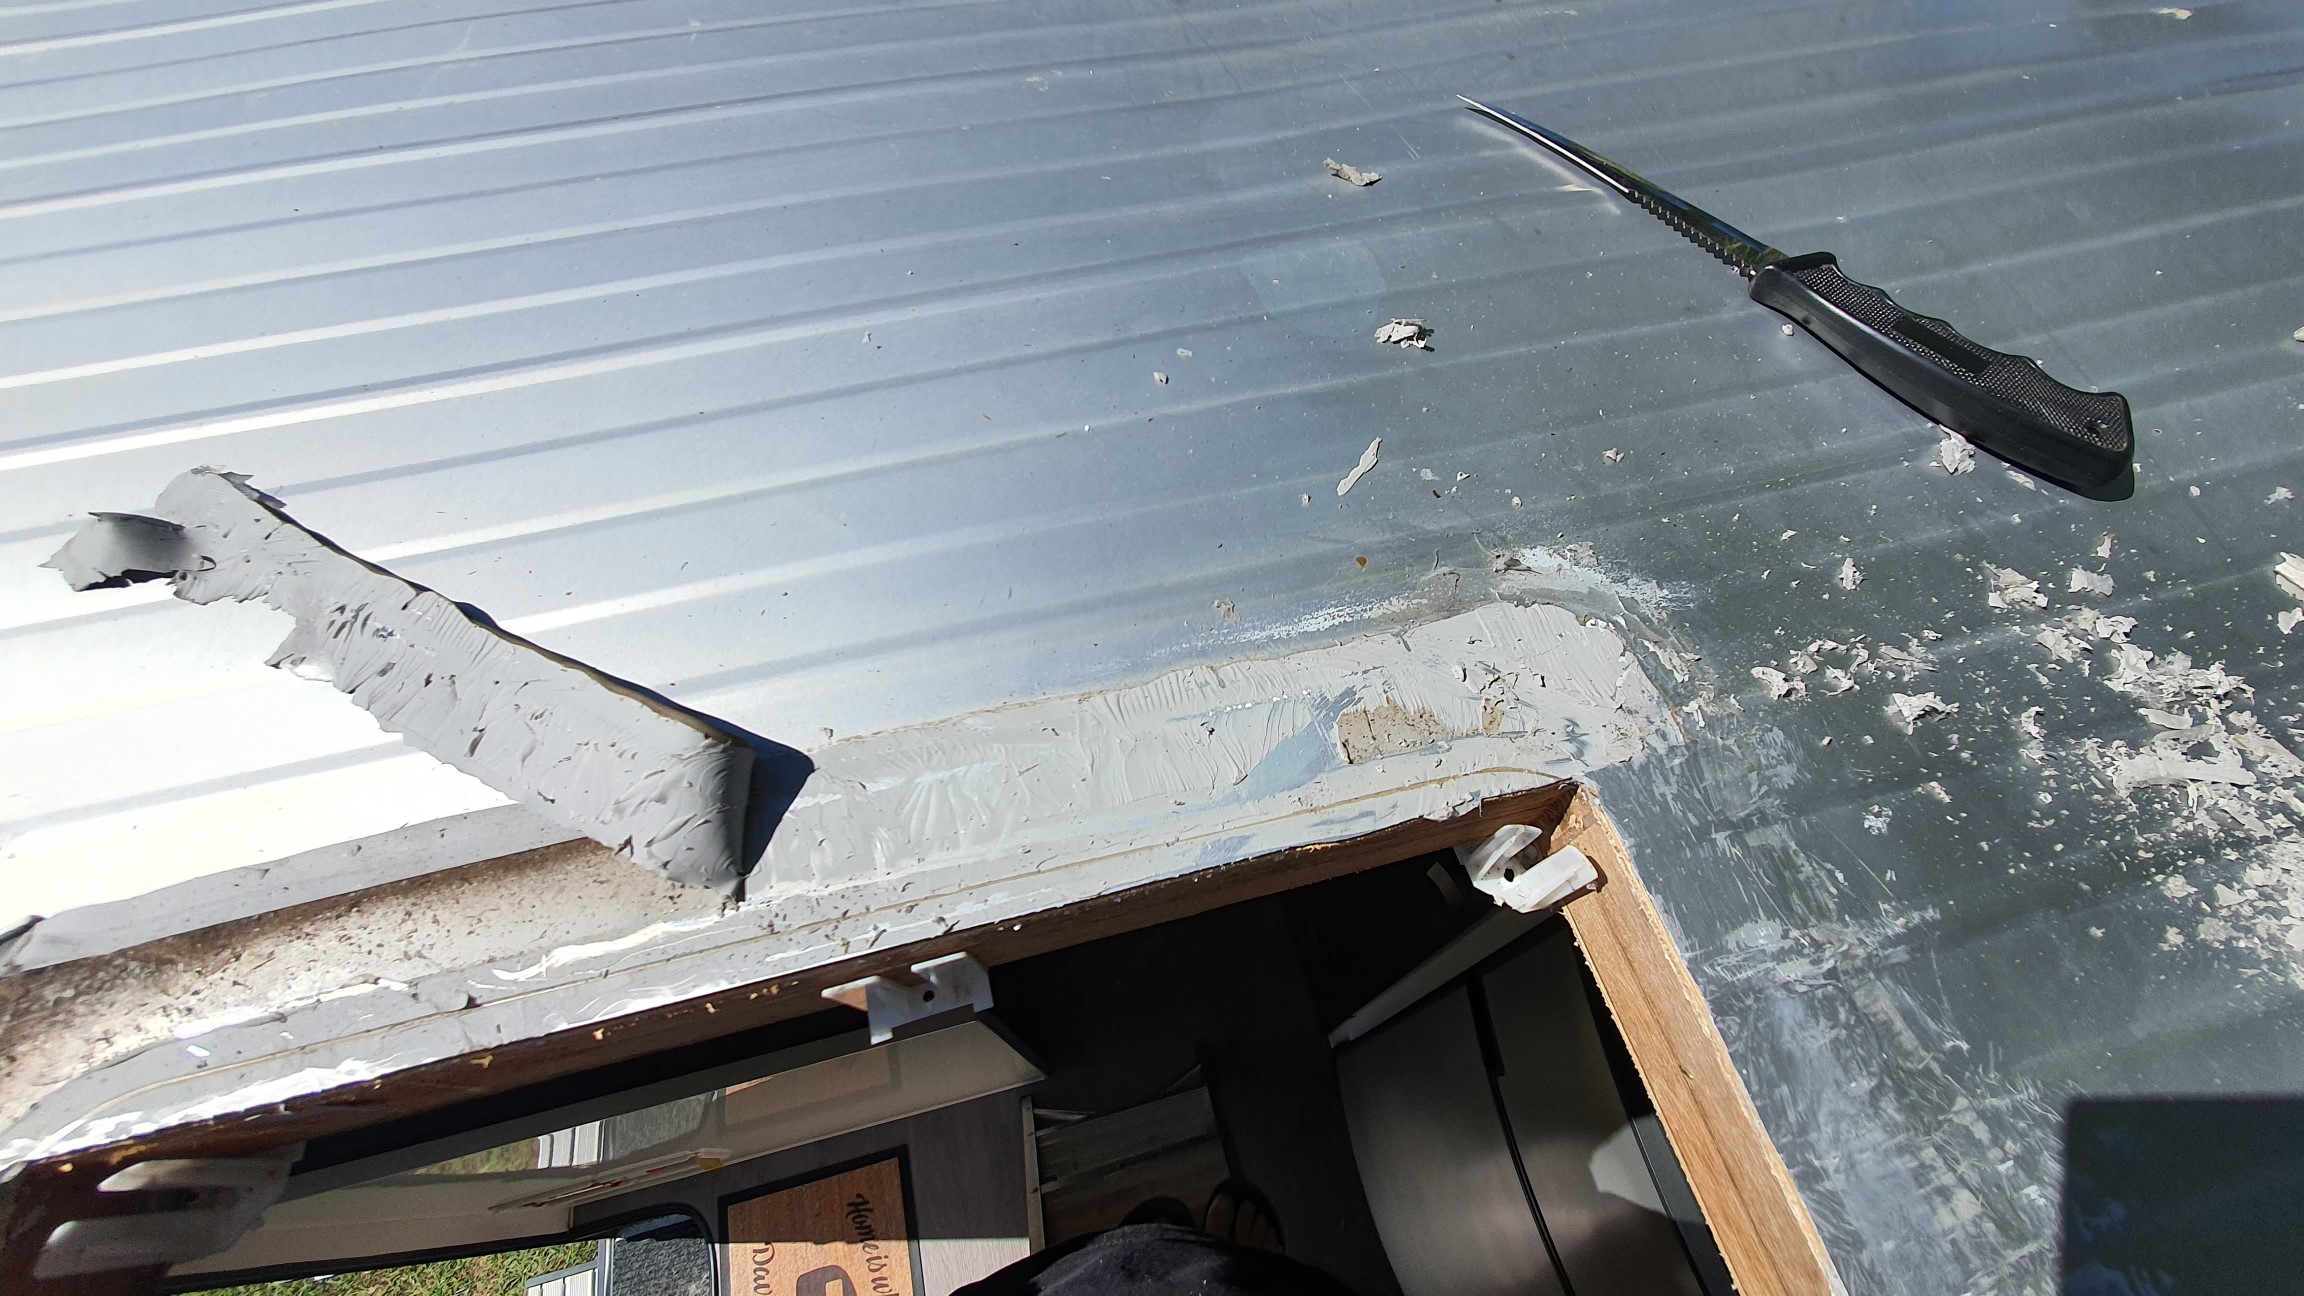
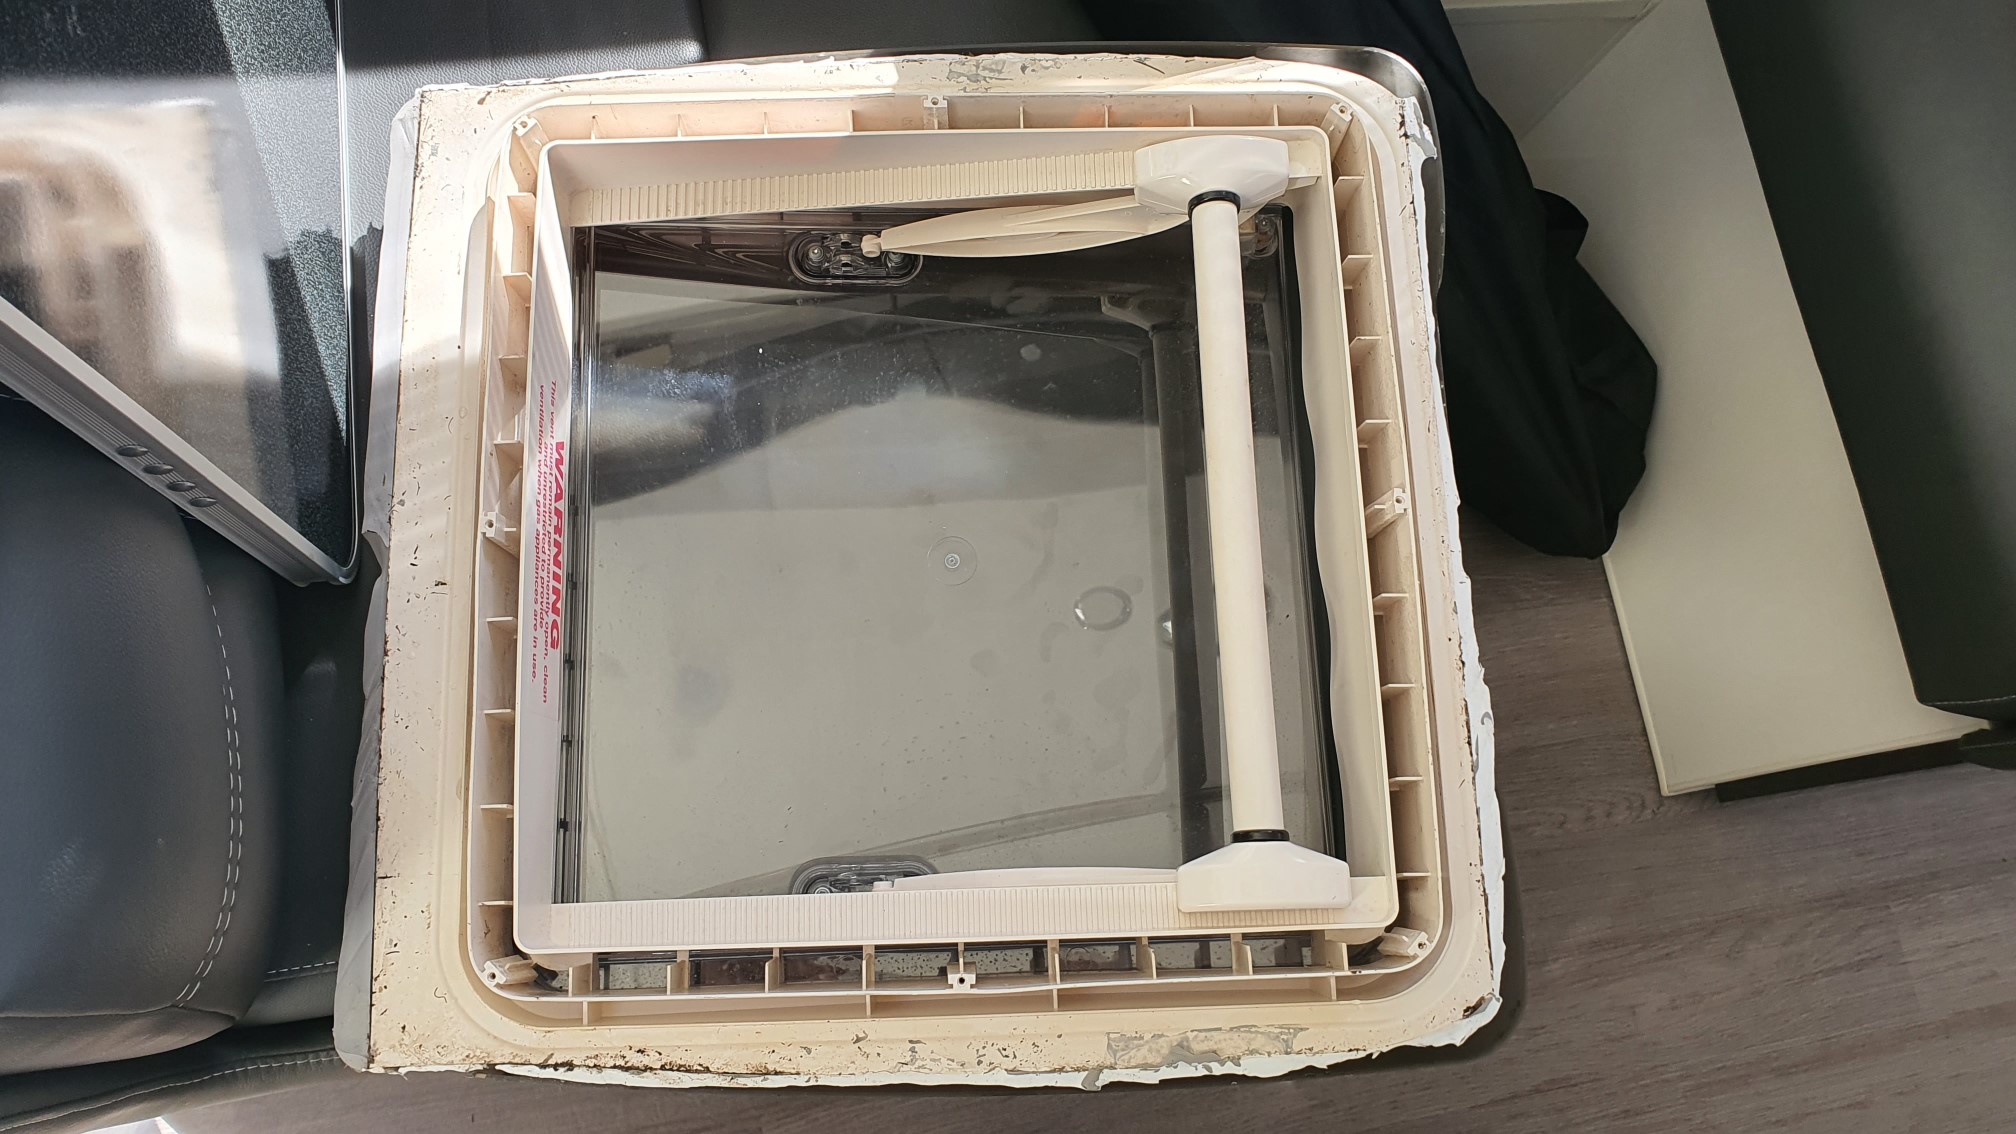
Now the roof was all cleaned off, time to work on the hatch itself, that was not too bad, again slicing it off with the filleting knife then cleaning it up with methylated spirits.
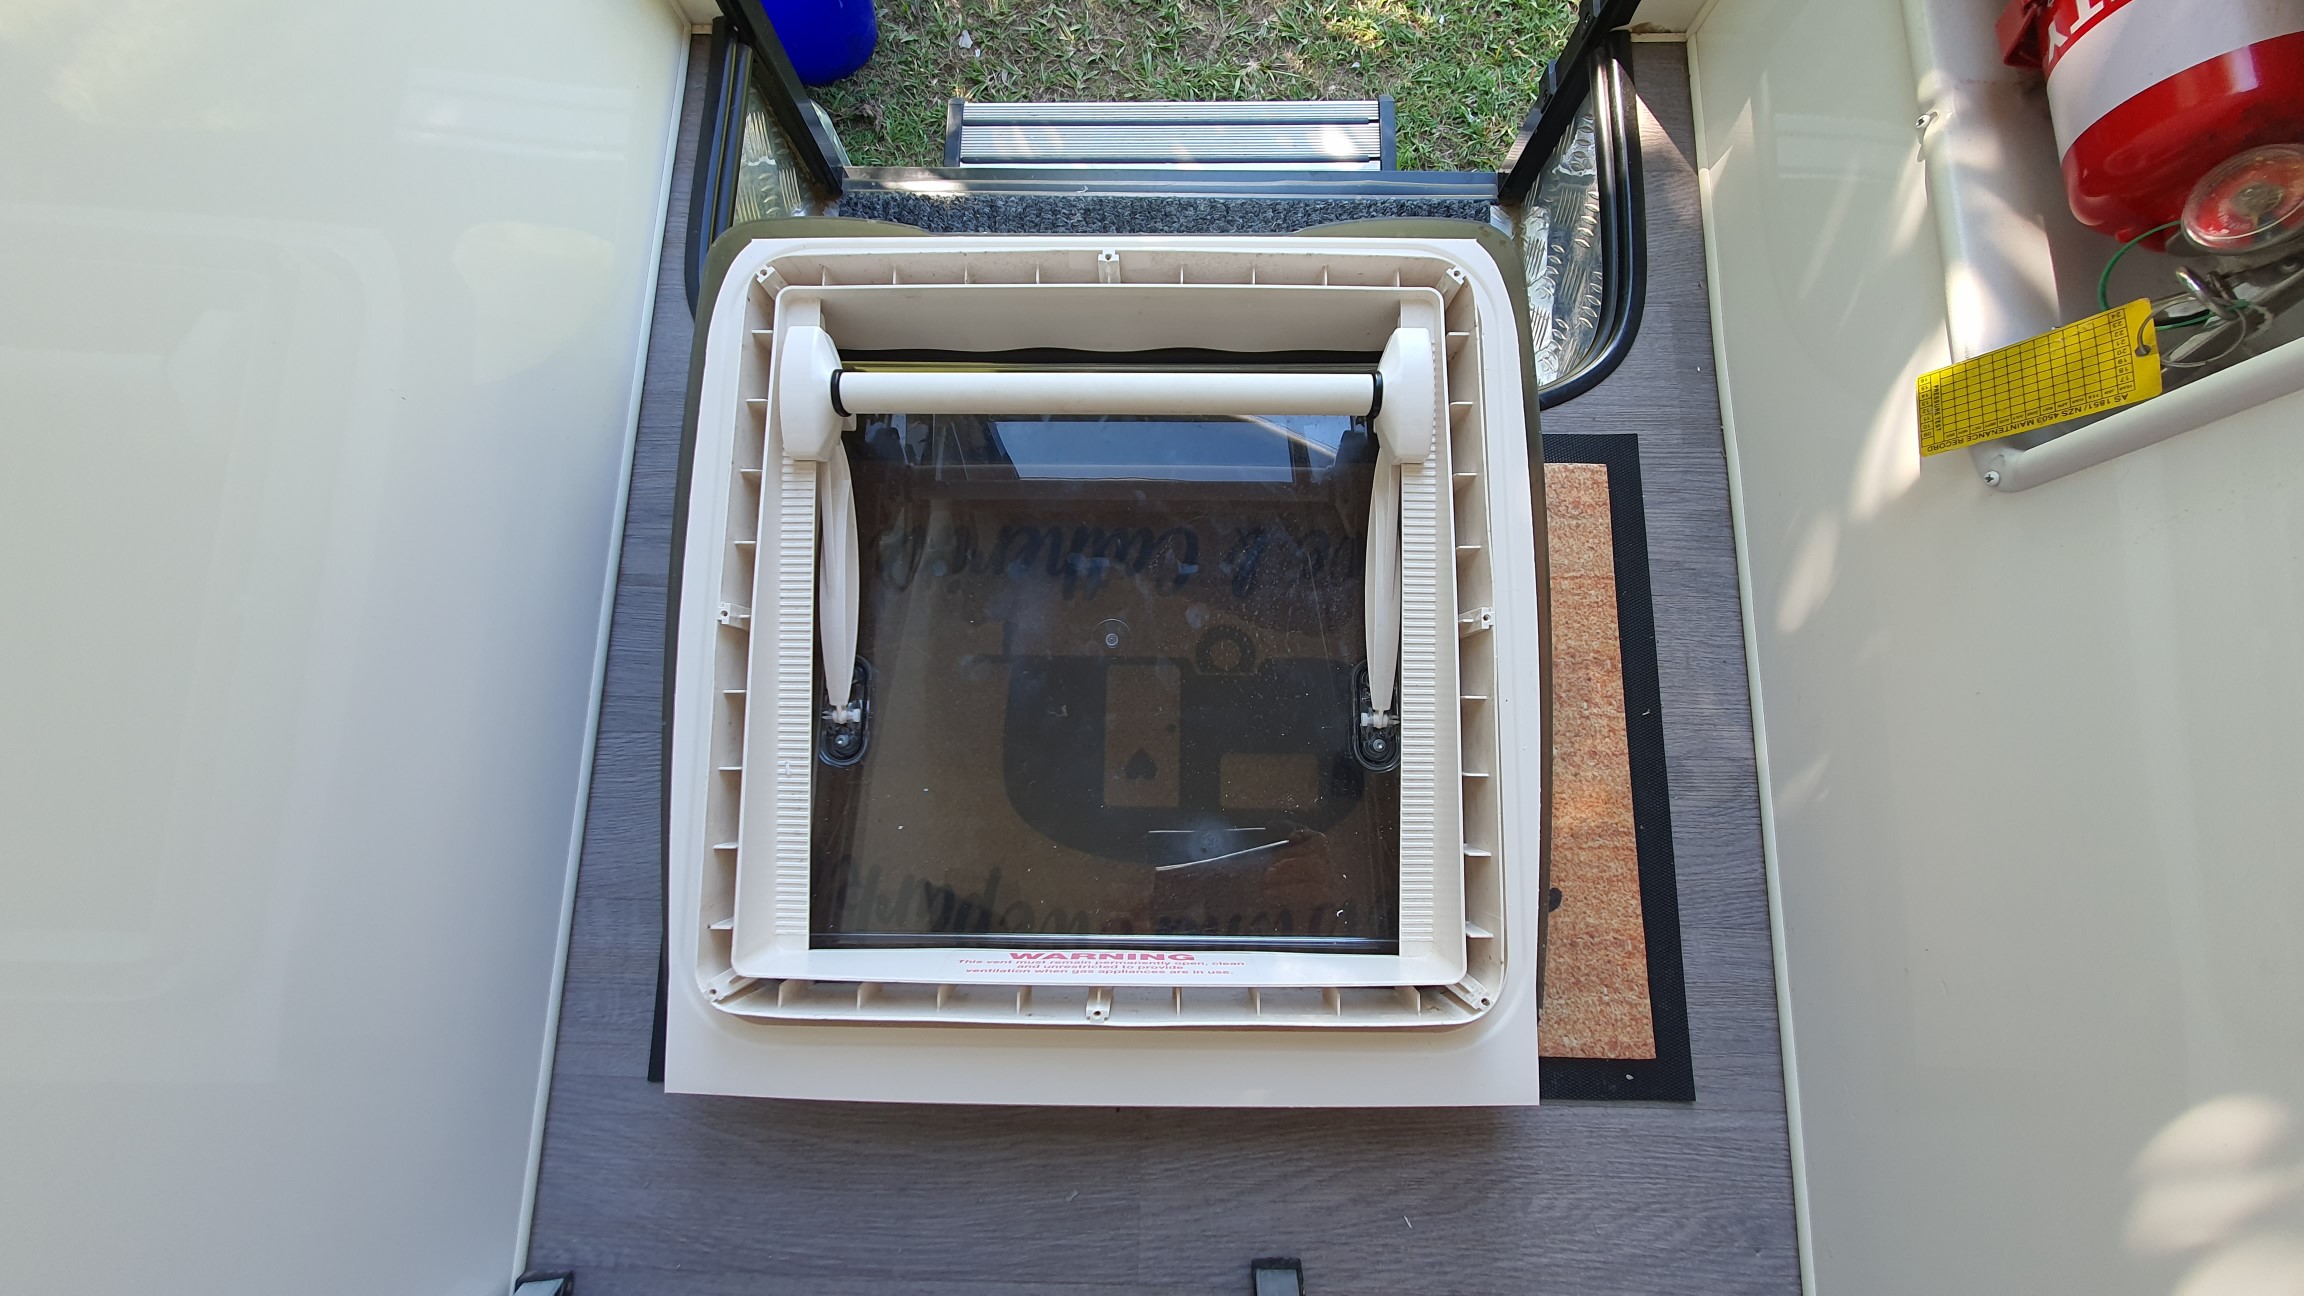
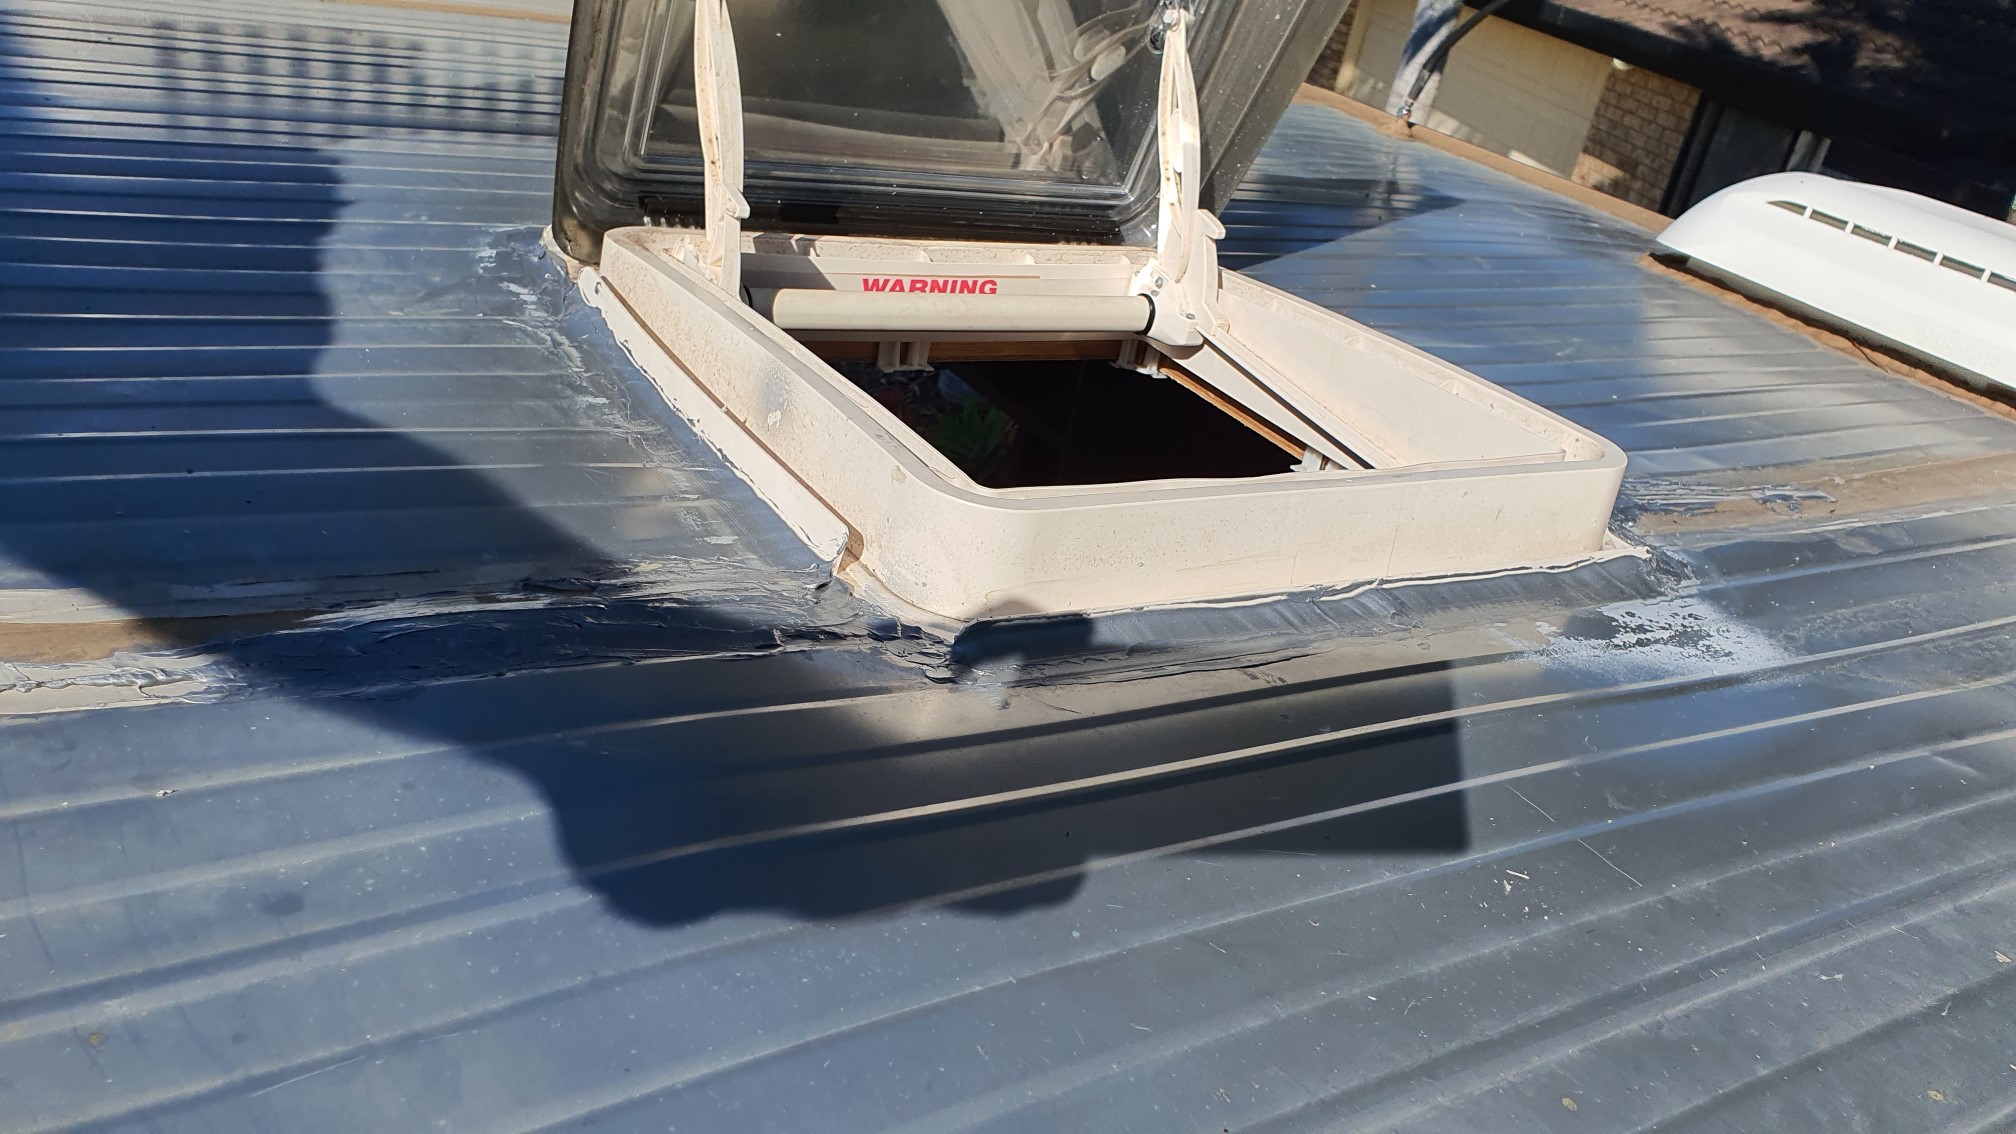
I used Selleys Roof and Gutter neutral cure silicone, in a silver/grey Colour Bond colour that matched the van exterior well. Applied a thick bead around the roof area, some on the hatch itself too, then fitted the hatch in place and screwed it down into place but not overly tight. Then I smoothed it off and around the hatch with a curved spreader and let it cure over night. Once cured I gave the screws another 1/4 turn each to snug it down and refitted the trim. A year later still sealed perfectly!
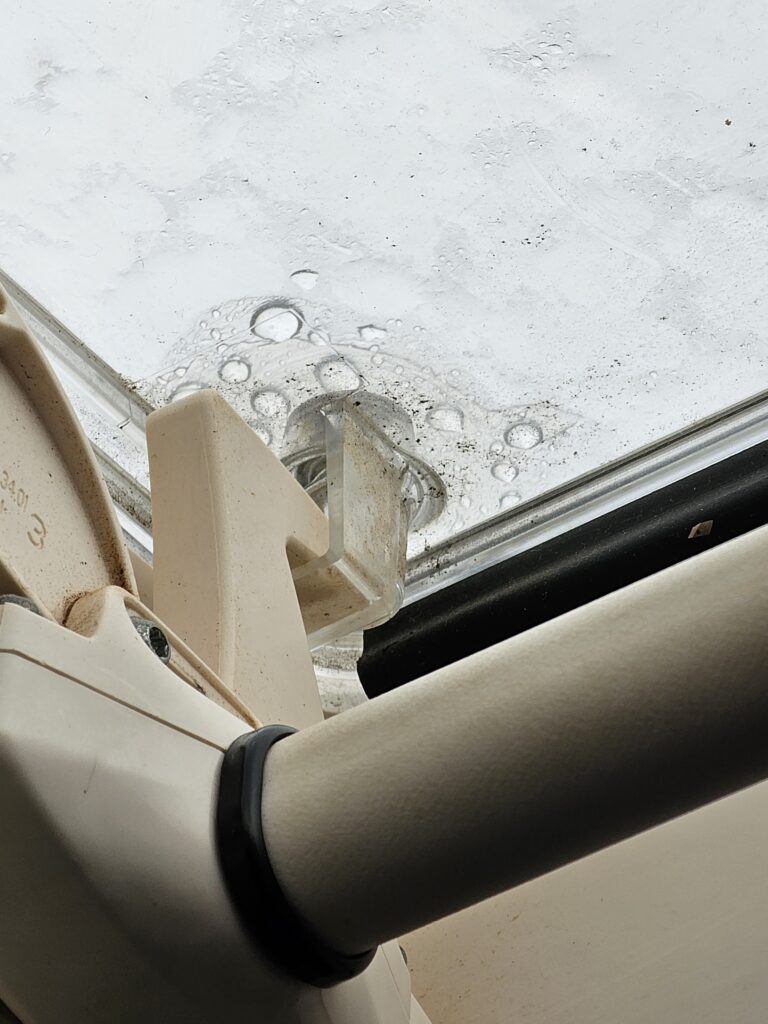
Another leak type.. We haven’t been in the rain for almost a year thanks to 14 months in Western Australia, north for winter and south for summer. Once we hit some decent rain I noticed some drips forming on the handle of the hatches featured above.
After investigation it appears the screws through the clear lid for the stay and the latch eventually crack the top surface from I guess vibration and being done up too tight. On close inspection 3 of the 6 screws on one hatch and 2 of the 6 on the other hatch had mild rust, indicating water leaking onto the screw. A quick smear of clear silicone on the top of the hatch surface above the screw and no more drips!


Recent Comments