

Water… liquid gold!
Two topics covered here – firstly how to easily fill the tanks so that they are actually full, secondly how to refill the tanks when free camping without dragging the van back to town.
Filling the tanks:
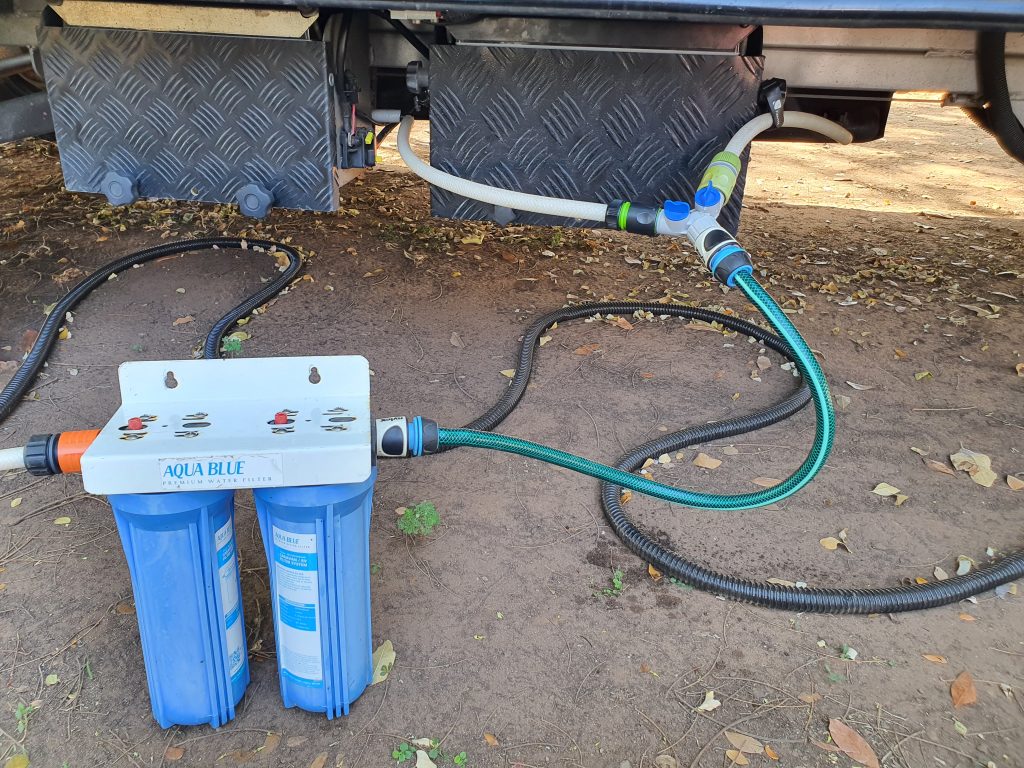
Our van has two water tanks, but only one filler and breather cap, that splits between the two tanks. Trying to fill through this was almost impossible with the water splashing and bubbling back up as soon it was half full. If you dropped the water speed down to a slow dribble it worked OK, but I don’t have half a day to wait around, so change was needed.
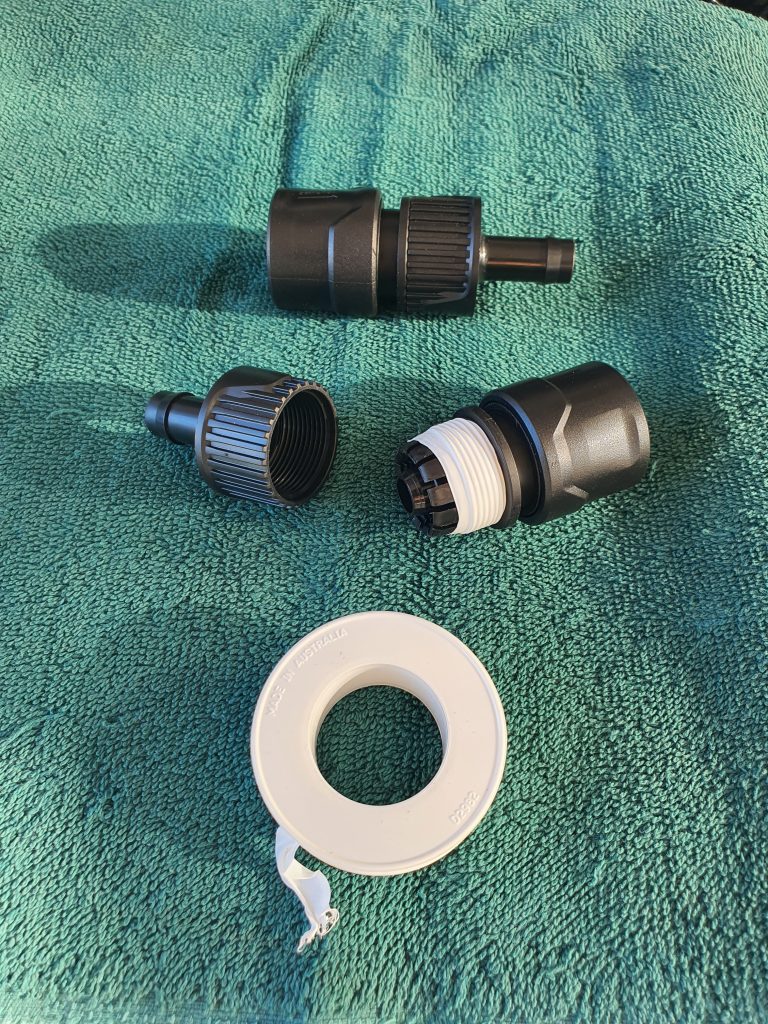
Had heard a few suggestions of filling from the drains so thought I would try that – perfect. So I set it up to make it easier. The drains on the tanks had a tap with a spigot for a hose, so I fitted a short length of hose to each with a normal click on connector on the other end. This allows them to be joined together and tied up out of the way and keeping out the dust and insects when not in use.
To fill the tanks, I purchased a Y connector with taps on each leg of the Y, and clip the two hoses onto it. The input is connected to the normal water hose after the filter, so all water going into the tanks is filtered through the 0.5 micron Sediment and Charcoal filters. Simply open the normal filler to allow the air to release quickly (leave that closed and the tanks expand!!) then turn on the main tap, open the taps on the tank drains and then open the taps on the Y connector. Once it starts over flowing out the main cap I close both taps on the Y connector, then open them one at a time to top up the individual tanks – sometimes one might be already half full to start with.
Tanks now fill totally, easily and quickly.
Refilling the tanks while free camping:
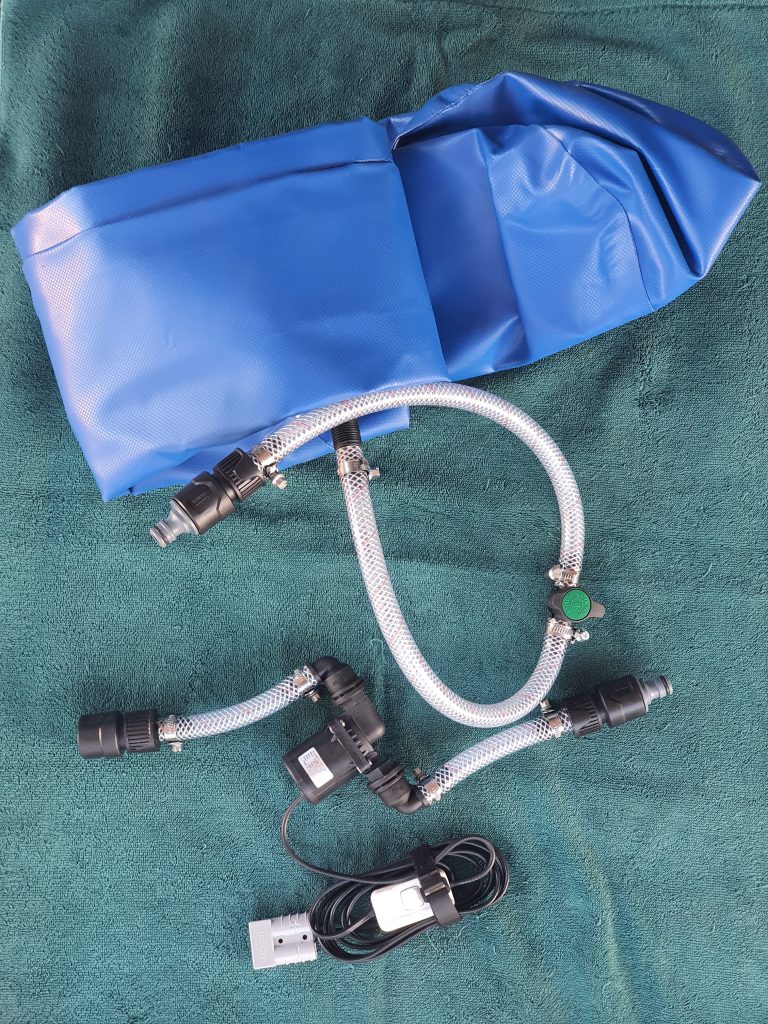
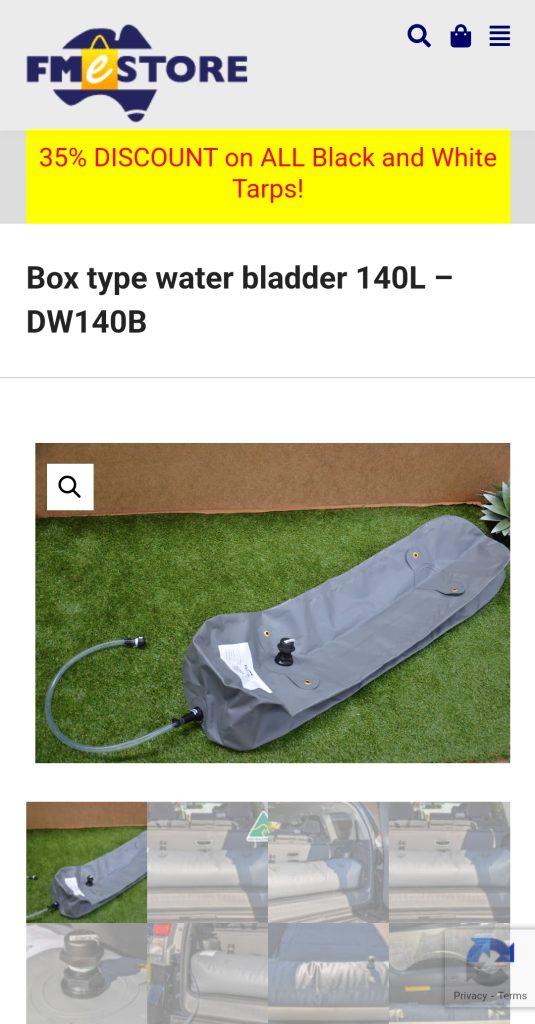
Once out on the road and free camping, water lasts us around a week (2 x 95L tanks) with careful usage. To stay longer we need a way to collect water and bring it back to the van easily. To achieve this we have bought a 140L water bladder that will set up in the back of the car when needed. At less than 2kg empty for everything, its not a lot extra to carry around. The company I bought the bladder from has a wide range of sizes and shapes, from fitting into the inside guards on some utes, a standard rectangular one for the flat bed of a Ute or across the back seat, and even ones shaped to fill the floor space between the front and back seats. I opted for a flat rectangle to use either in the back of the Jeep or across the back seat (haven’t decided were I will use it yet!)
First we have the bladder itself, then a hose with normal click fitting to fill it up. We release the top cap to allow the air to escape as it fills, making sure to not let it overflow in the car!
Once full, transport back to the van and use the 12v pump to transfer the water to the van, using the above Y connector. The pump I have fitted with click on connectors and double ended adapters to make everything just plug and play. I then fitted a 2m lead with switch and Anderson connector so I can simply plug it into the back of the car or the van to run the pump. At 11 litres per minute it should take well under 15 minutes to completely transfer a full bladder. Pump and bladder were both bought from FME Store online, the Click adapters, hose clamps and switch from a local Mitre 10 (not a lot of choice at Exmouth!), cable and Anderson plug I had in my bag of spares.
Just to keep an eye on how much water we have left, we have also just installed a water flow meter into the caravan – this is reset when you fill the tanks and counts down as the litres are used. Great idea! More information on that here
Shout out if you would like any more information on these updates.
Recent Comments