

Diesel Heater
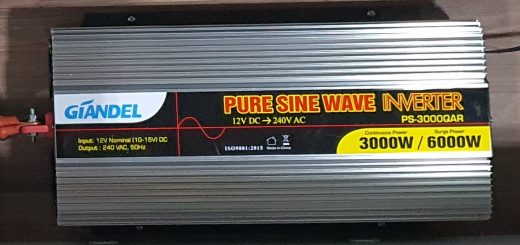
Well with travelling south in the winter (something we swore we would never do) we decided a diesel heater would be a good option for the colder nights.. I looked around and with the size of the van decided on a 5kw unit, though in hindsight a 2kw would probably have been sufficient. However we also then thought we could open the windows into the Annexe and let the heat into there as well!
So first off I hunted around and after a lot of reading decided on a Chinese version from eBay. Price was really cheap, $140 delivered for a 5kw unit from HCalory, there were no 2kw units available from anywhere on eBay at the time. However on looking they had ‘upgraded’ the fuel line to a green soft tubing rather than the correct white hard lines. The hard lines are required from the pump to the heater to allow the fuel to spurt forcefully onto the glow plug, assisting in the burn process. So I bought 5m of that too..
UPDATE AFTER A FEW MONTHS: Yes, 5kw it too big for a 21ft van unless regularly in sub 0 temperatures. With the outside temp around 5°, heater set to minimum it maintained 24°C. I changed it to thermostat mode and set to 18°C, was still holding 24°C when we went to bed. By 4 am it had dropped to around -2°C outside and the heater on thermostat mode kicked up from low to medium for the first time. That lasted about 20 minutes, then again around 6am when it had dropped to -4°C outside it kicked up again to medium speed. A 2kw unit may have gone to a higher setting to maintain the temp, but would also allow for a comfortable 18°C to 20°C inside when its between 0°C and 10°C outside. The 5kw is simply too large for a 21ft van unless in the snow all the time – would be lovely like that! (or as we later discovered – leave a window and roof vent open a little for fresh air and its perfect!)
Another update after 18 months – doesn’t get used very often, but all still working, or at least it is now after some (very minor) repairs.. Details added on the end of the post!
The Installation:
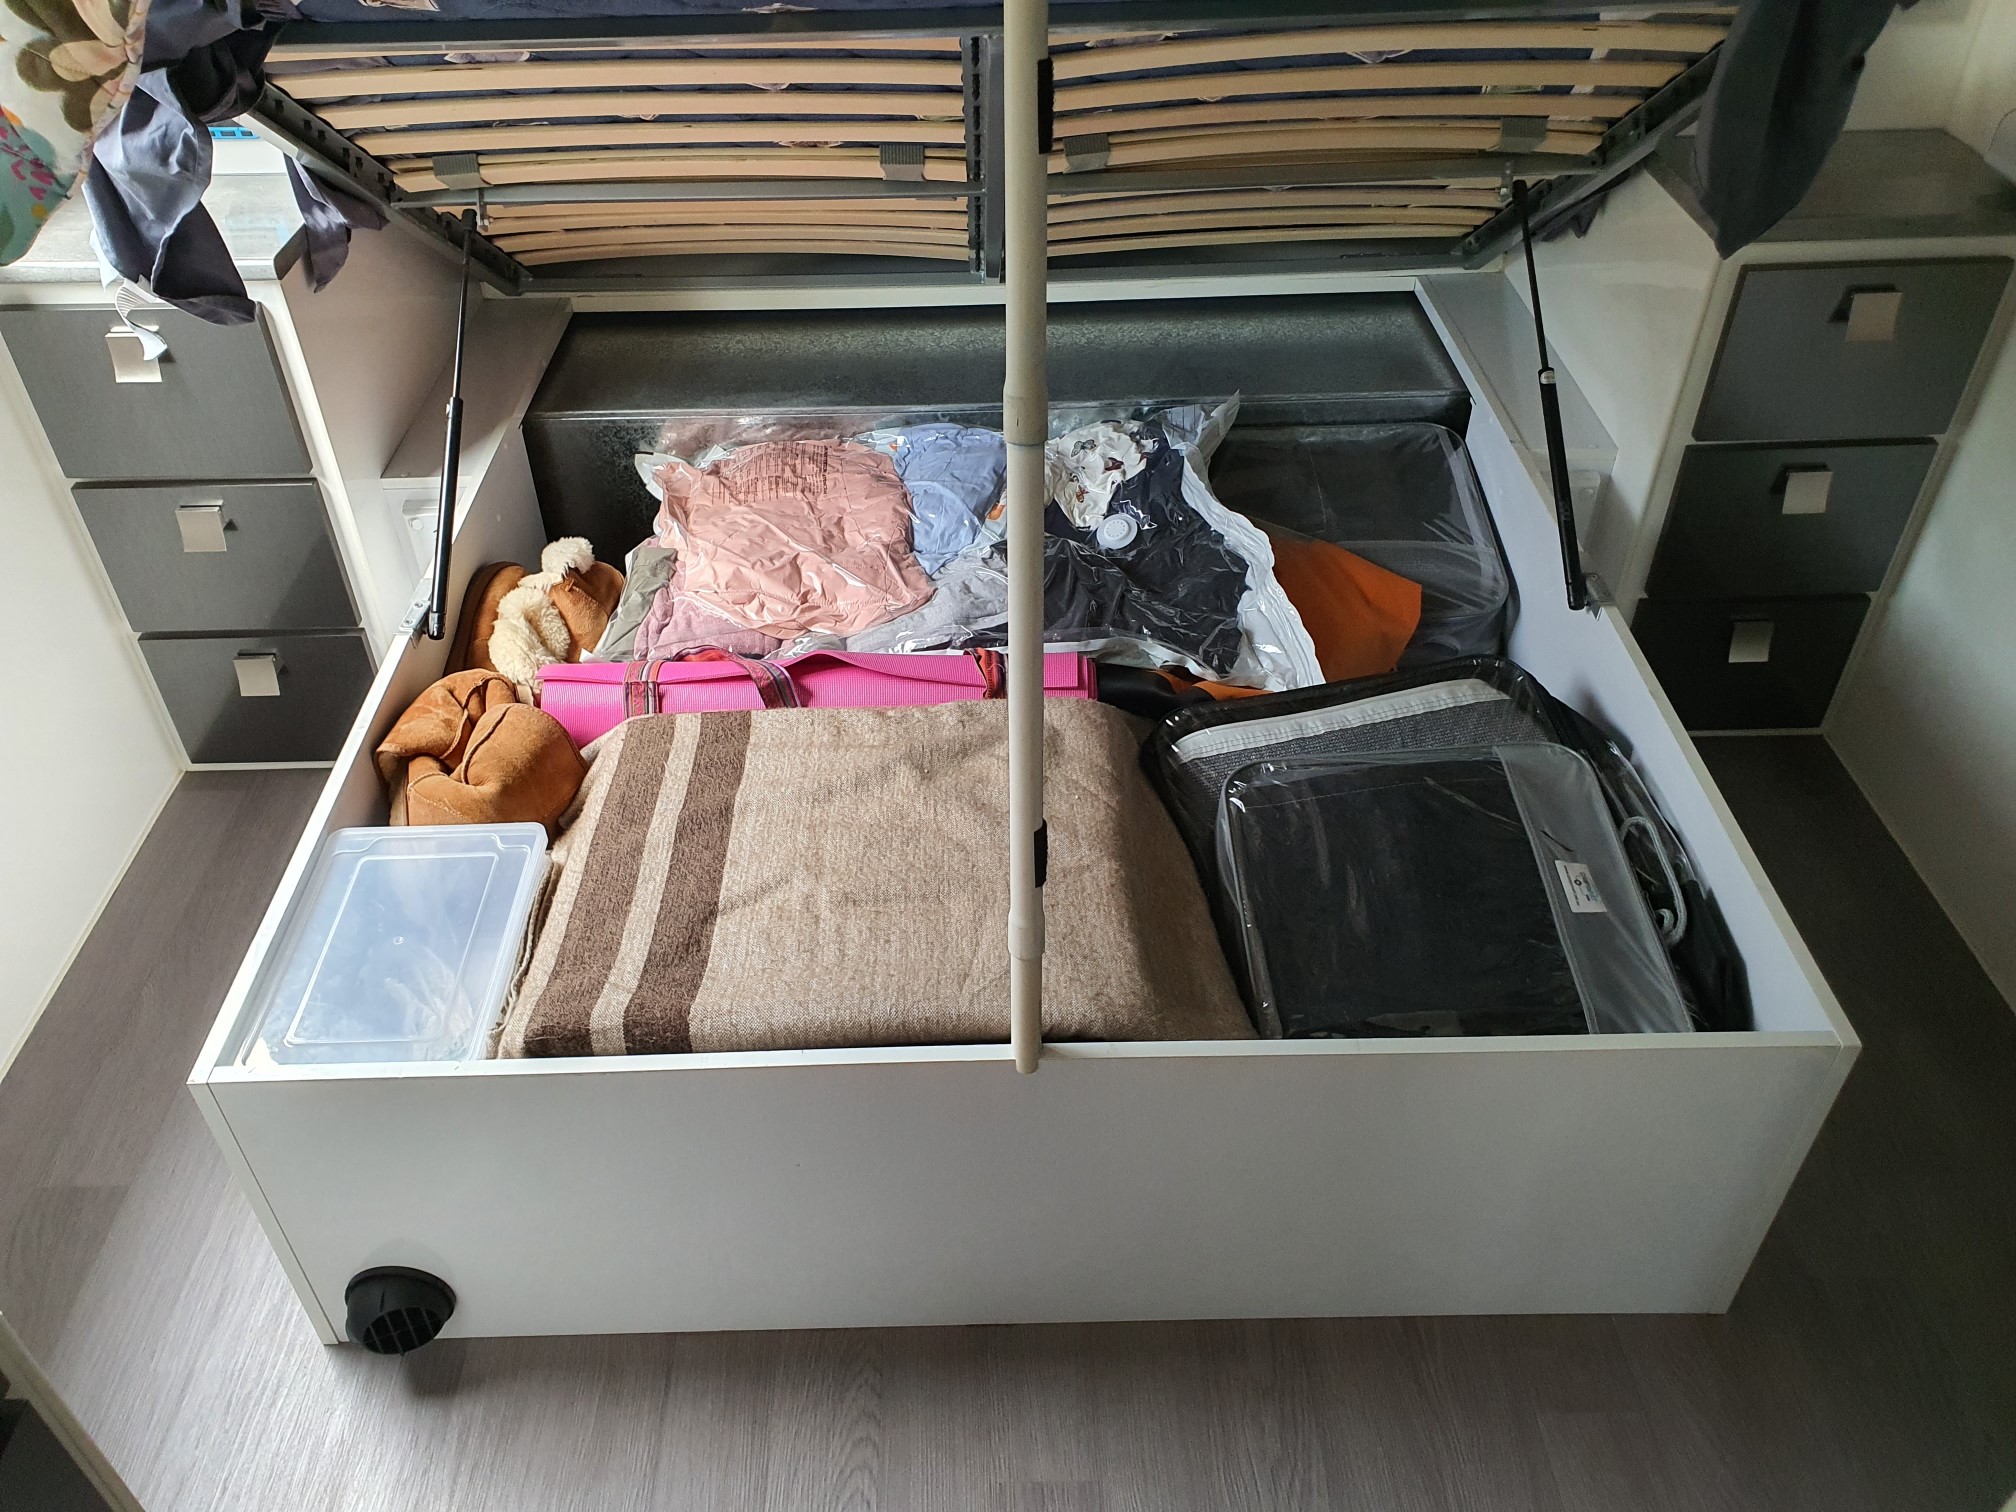
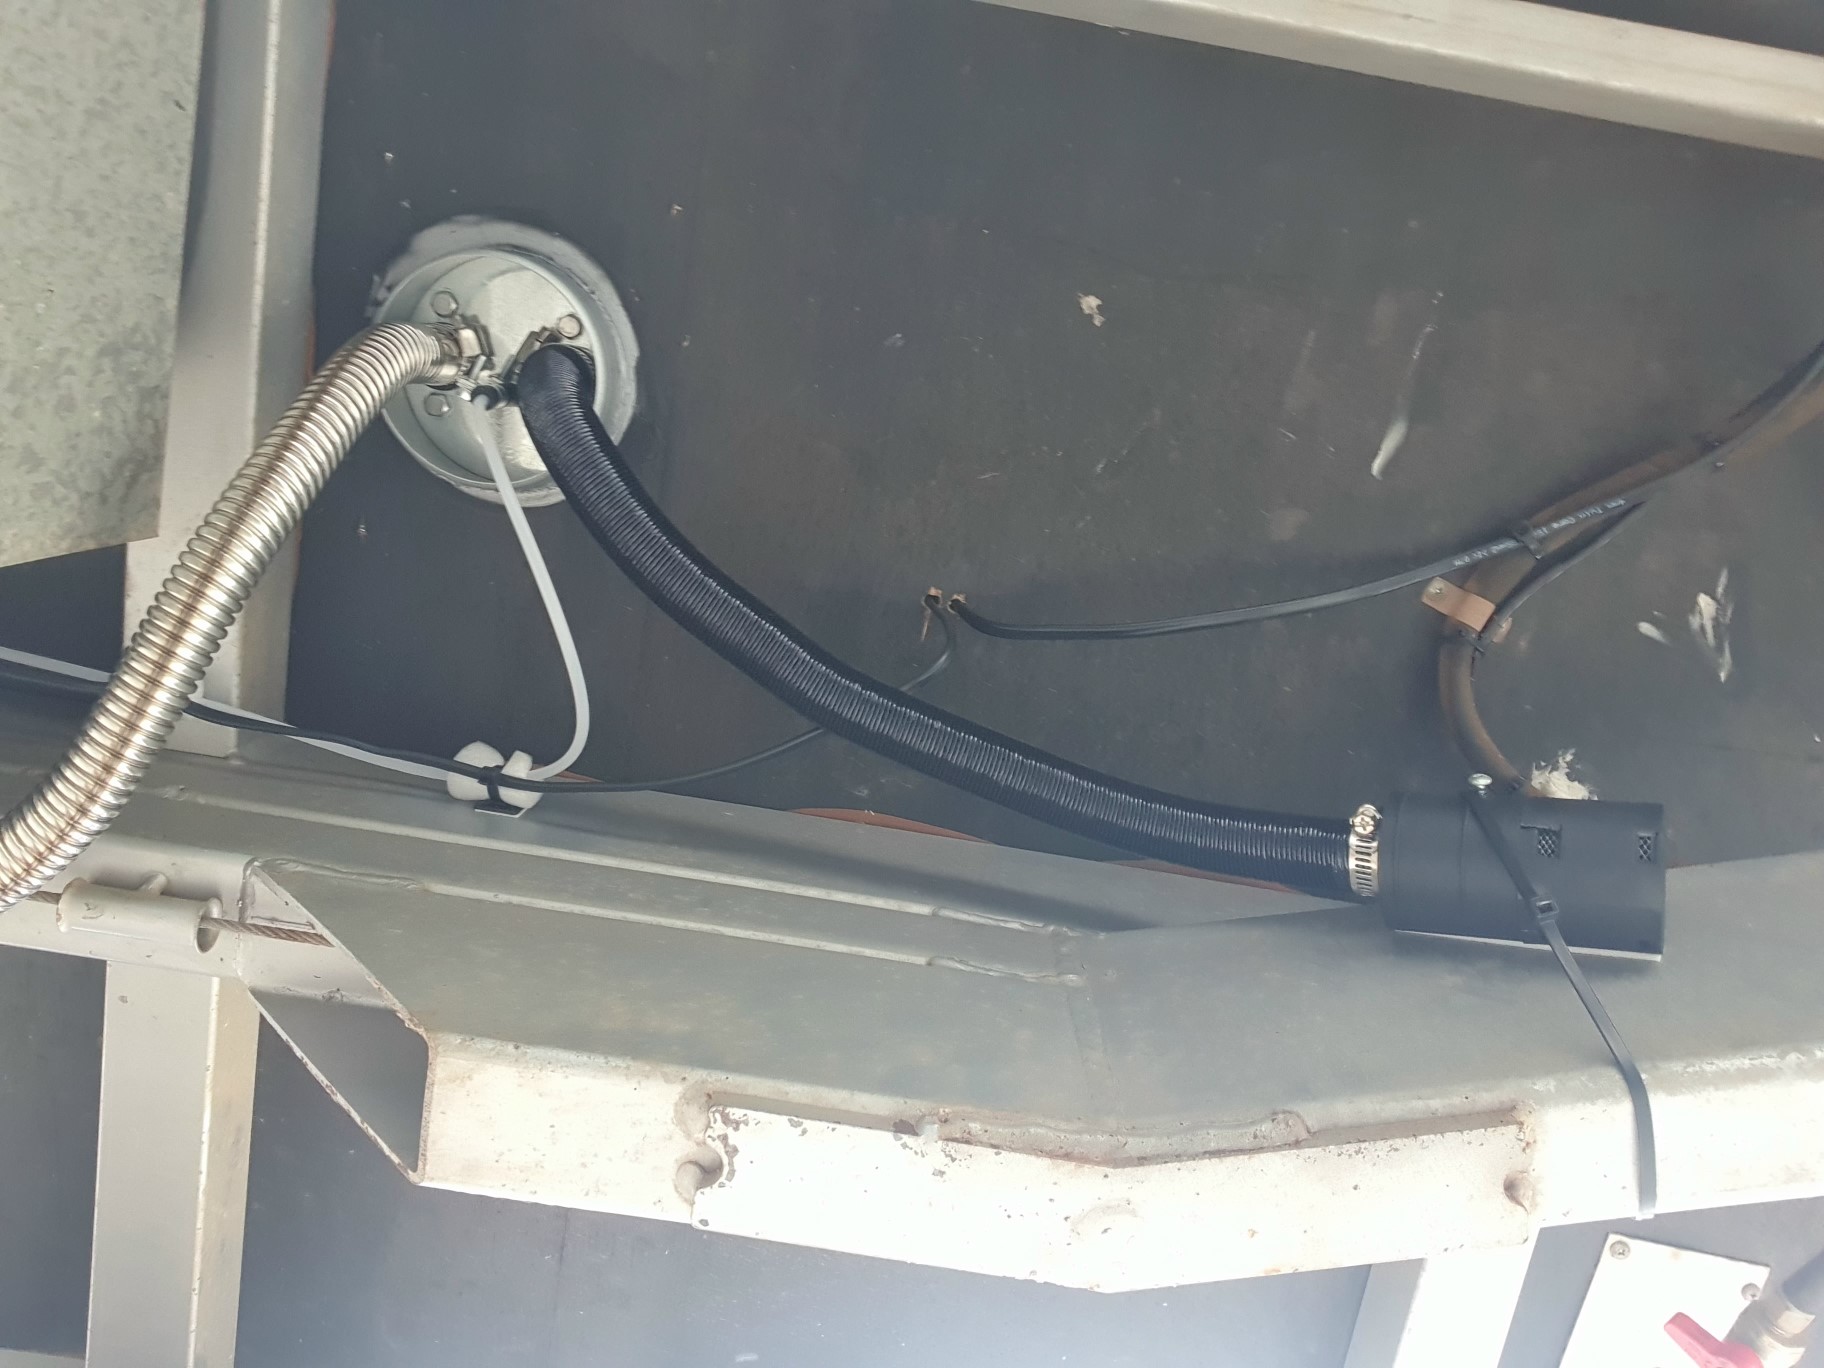
Space was a premium in the van and after looking around at all options I settled on the left side under the bed. I had to have the main body a fair way back so the piping through floor was in front and clear of the water tanks and framework. The hole through the floor I drilled out at 100mm and used a 100mm galvanised tin downpipe adaptor from Bunnings, glued to the floor with heat resistant silicone. This allows the pipes to protrude through easily with room to access them if needed.
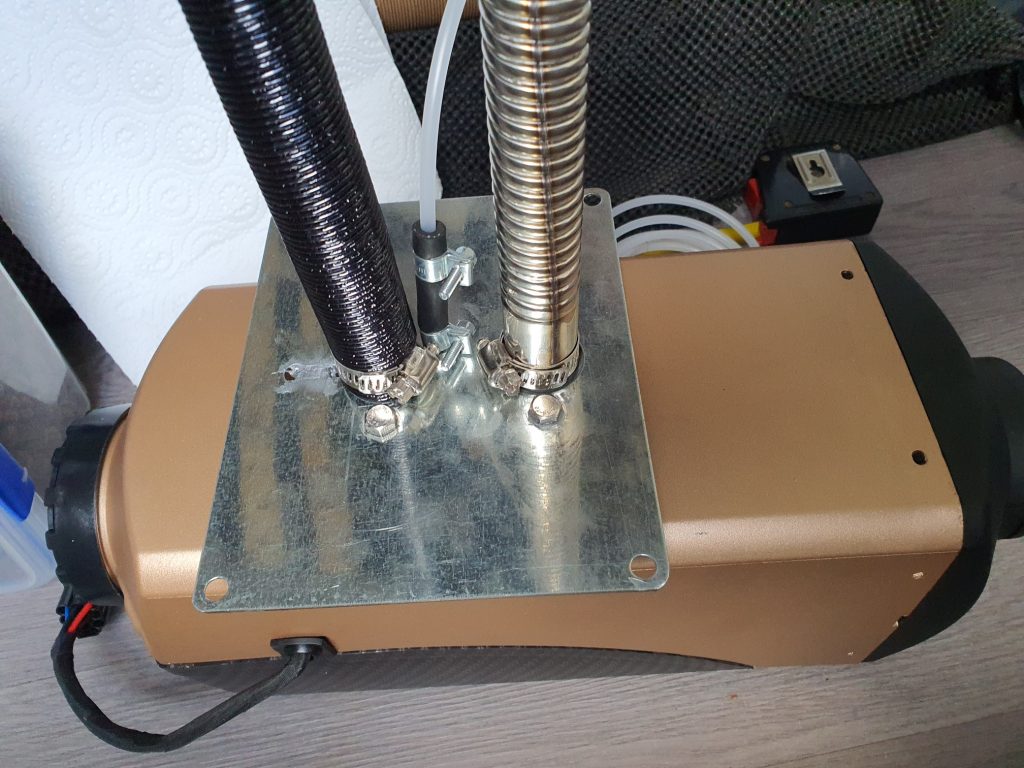
The bottom plate was held to this heater with 6mm studs and nuts, leaving the thread sticking out and in the way of the hose clamps holding the intake and exhaust hoses in place. I had some 6mm stainless steel bolts on hand the right length (total coincidence) and used them instead. This made access to the hose clamps easier.
To cover the heater, I bought two 900×200 shelf panels from Bunnings and a strip of 20x20mm to attach them. I left the end behind the heater open to allow plenty of airflow in to it. As the bed does not seal against the wooden frame there was no need to add additional venting.


The electrics are run down through the floor then directly to the battery through the supplied 15amp fuse, with a switch installed near the heater to shut it off completely over the summer months. The switch is still just sitting behind the heater, I will find a recessed mount for it one day and put it through the side wall so I don’t have to lift the bed to turn it on/off. The switch must be hard to access though, as you do not want to accidentally turn off power whilst its still running (heater has to go through a proper shut down process that takes around 5 minutes, cooling it down properly. Shutting off the power may cause the casing to overheat and damage the controller electronics mounted to the case.
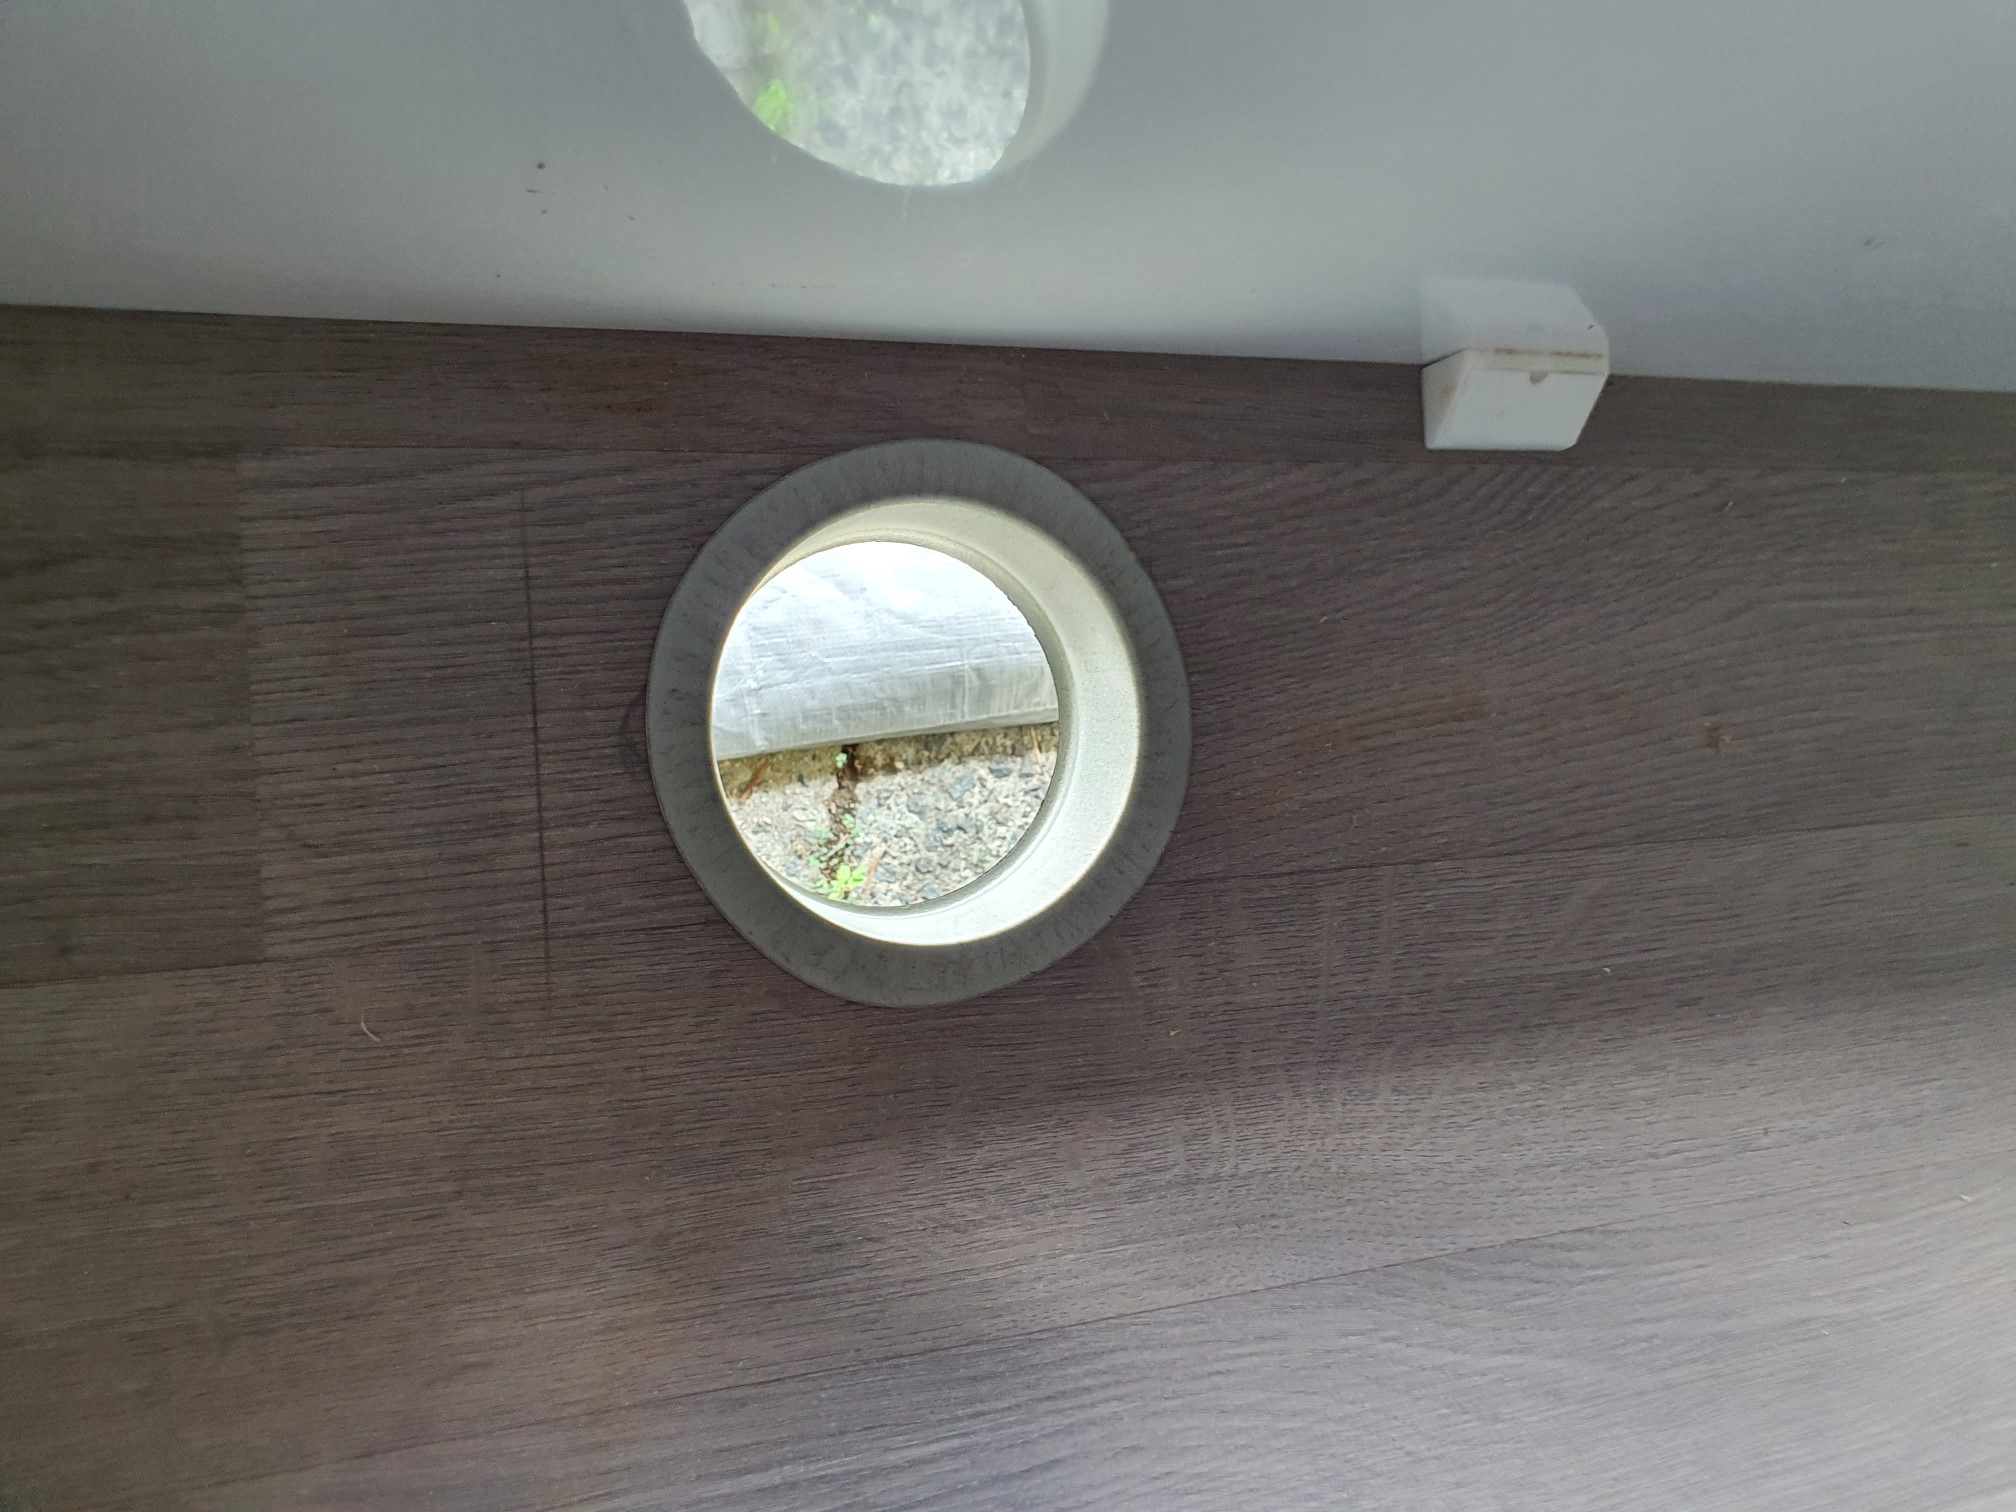
From the outside the end result is barely noticeable, with just the vent poking out the base of the bed and the controller on the side cupboards.
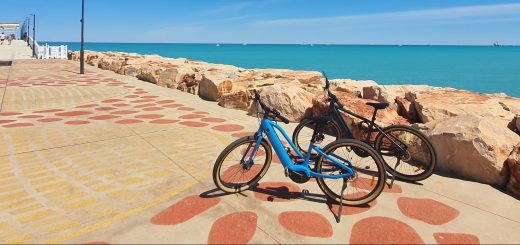
The fuel tank supplied is the typical flat 10 L white plastic. Most people advise these are pretty flimsy and deteriorate in the sun from UV fairly quickly. So I decided on mounting a dual Jerry can holder up the back (partly to help balance out the bikes up the front!) and used one of them as the fuel tank, the other spare diesel for the car or the heater. If you are interested in the Jerry can holder, I purchased that from a local ebay store that custom makes boxes – https://www.ebay.com.au/str/cobracaravantoolboxes


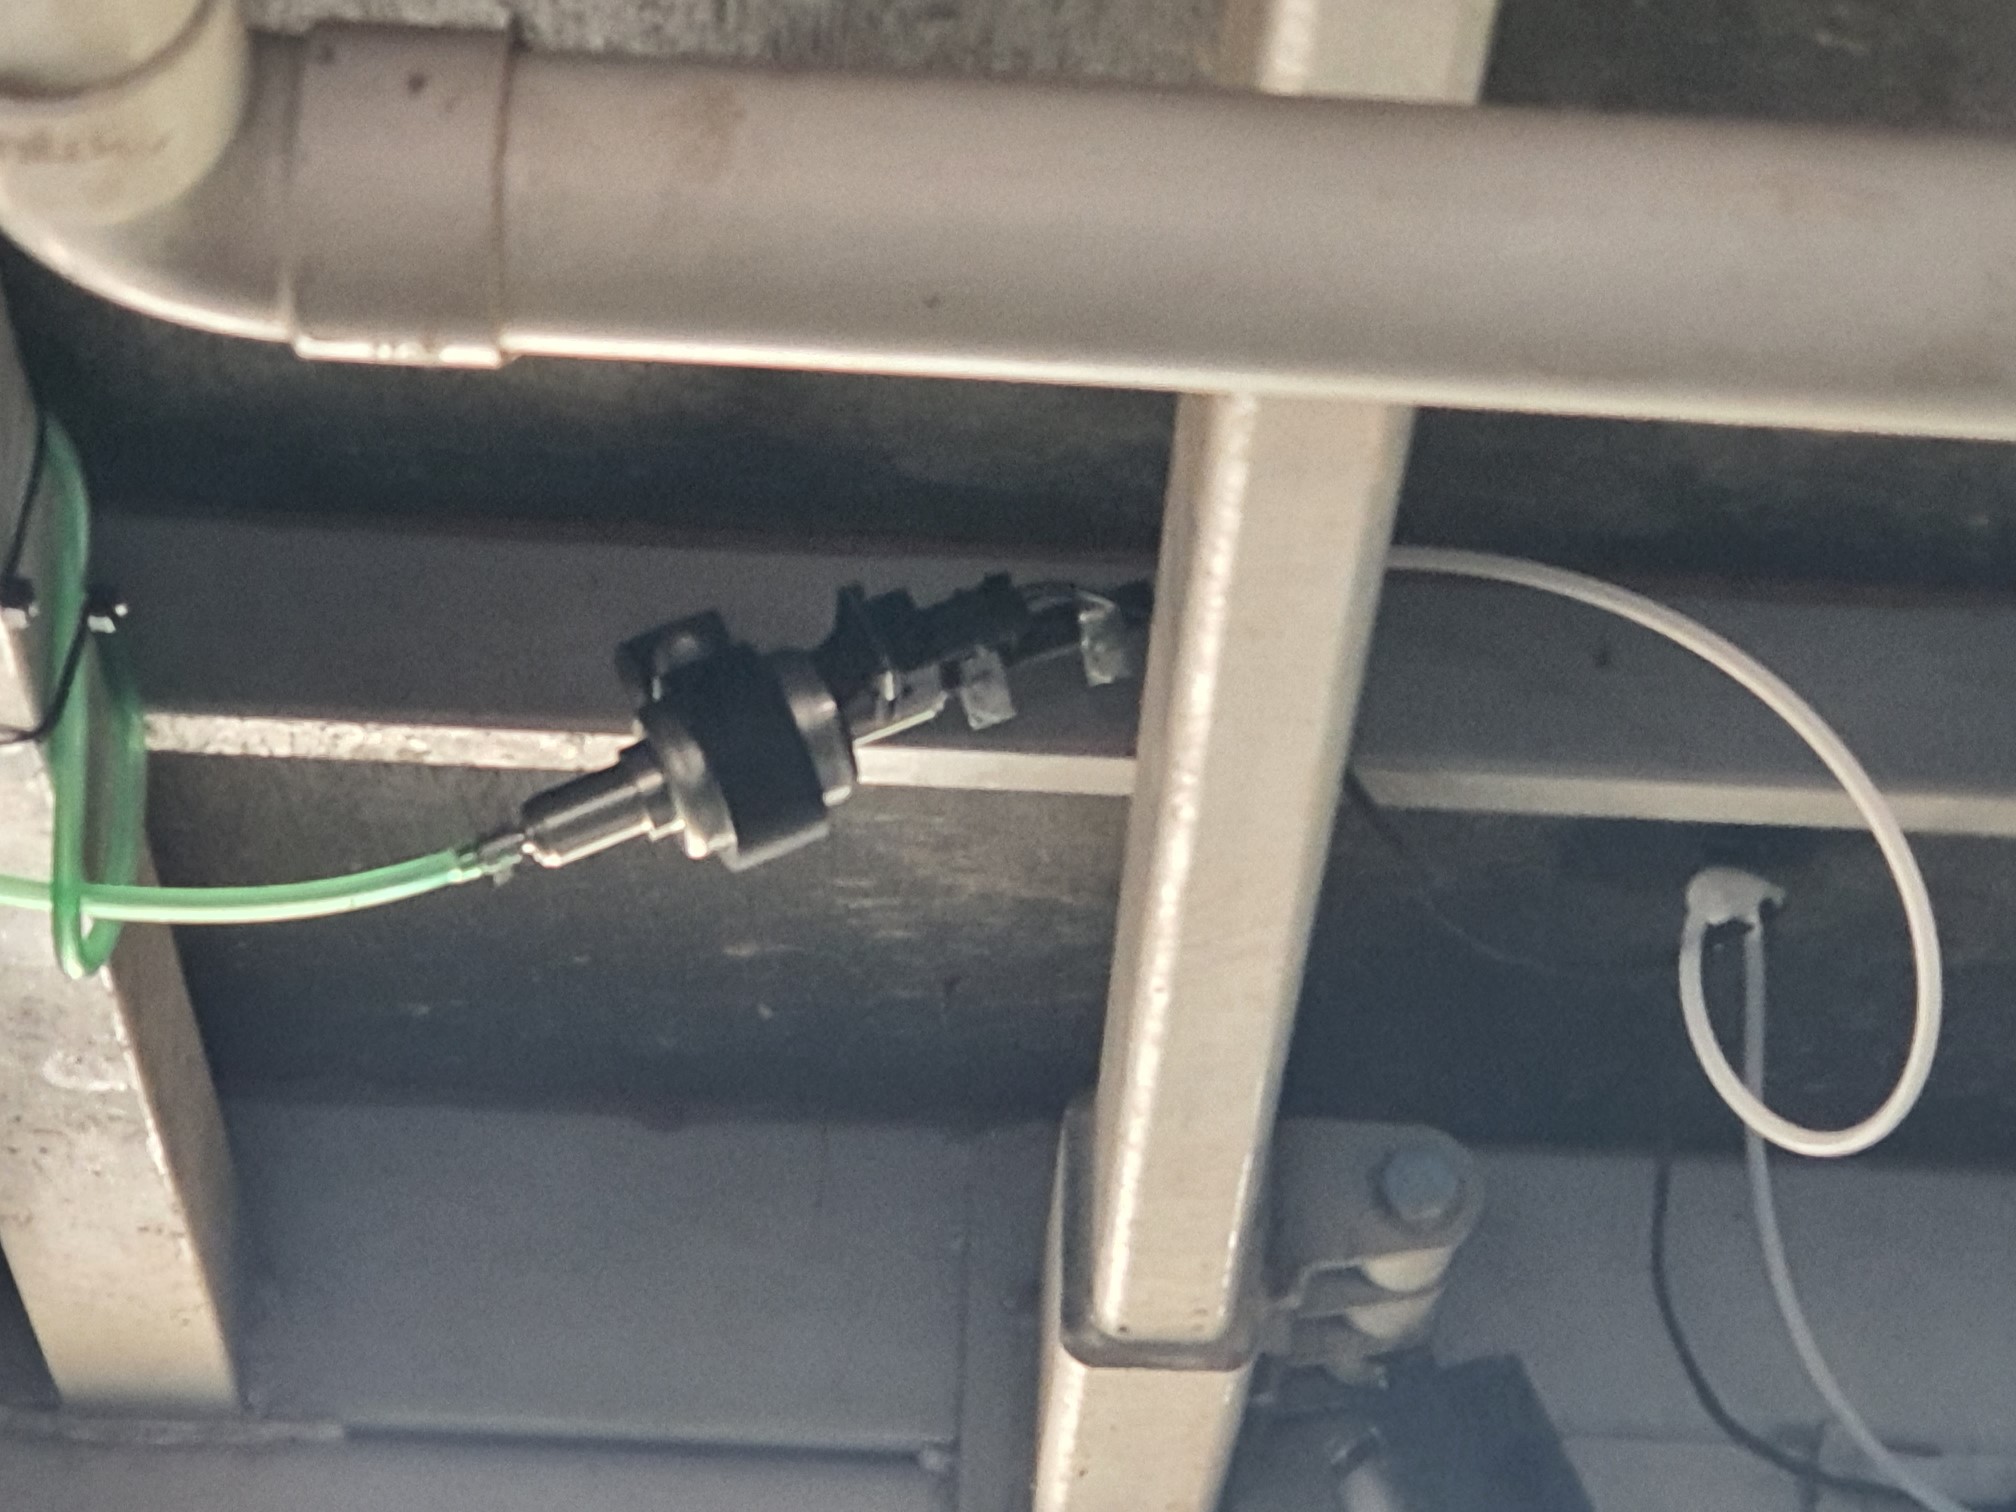
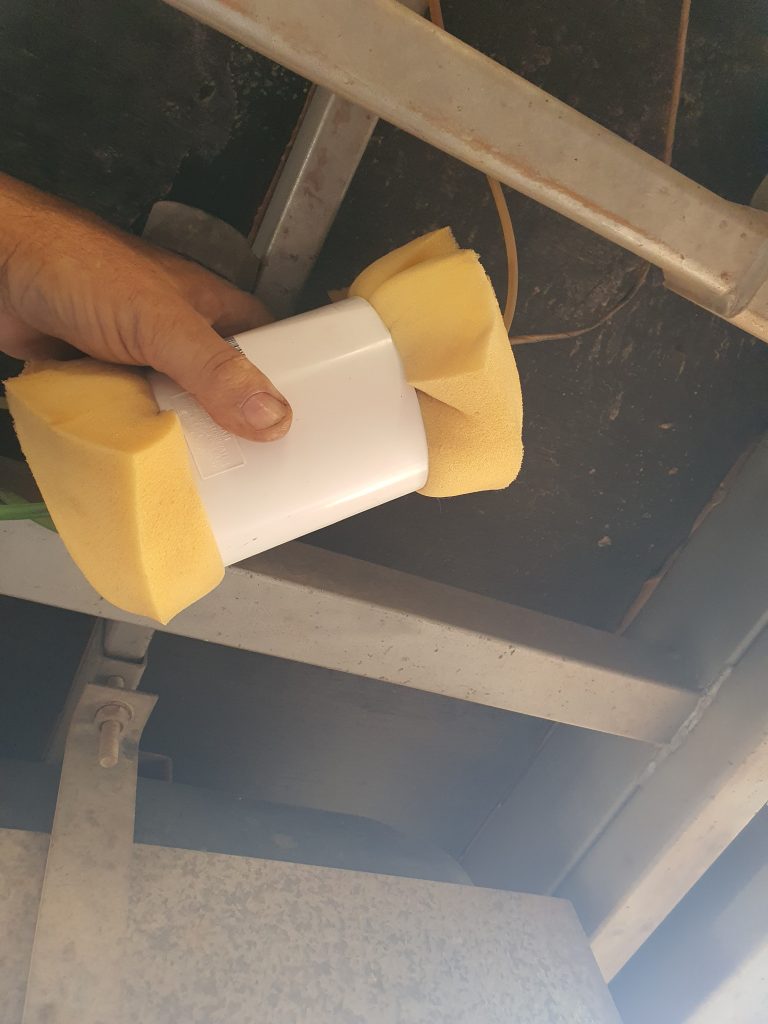
I used the supplied green fuel line from the tank to the pump, mounting the pump about midway on the van, then the hard white tuning from the pump to the heater. The hard line is held in place with cable tie mounts on the frame, foam around the tubing then a cable tie. The foam stops the tubing pulsating against the frame and helps to reduce the ticking sound. After running a few nights recently, the pump will be removed and encased in foam, then a strap around the foam mounted back to the frame. The rubber sound isolator does absolutely nothing to reduce the clunking sound reverberating through the van!
Power and fuel cables were pre made from the factory, so I cut them to push through the small holes in the floor, then joined them to new cabling as both were too short. The fuel pump is not polarity sensitive, so uses unmarked twin black wires. Power cable if extending, make sure to use heavy duty cable to reduce power dropping. The unit will draw around 10 to 12 amps while starting when the glow plug is powered. Small gauge cable will cause a voltage drop and the heater may shut down indicating low battery.
Testing was done in Summer, on a 37 Deg C day… So I had all the windows and roof vents wide open and cranked it up. It took a while to fire up, 3 goes in fact then off it went. As the temp started to rise, heavy Queensland rain set in and I had to madly close everything up. So now I was in a hot and humid van with a diesel heater cranking! You can’t just turn them off either, they need to go through a shut down procedure (automated) where it first stops the fuel coming in but keeps running until the internal temperature drops below 60 deg C, this takes over 5 minutes. As you can imagine I looked like I had been in a sauna by the time it was complete!
Well, now we are in Victoria and looks like it will get a workout over the coming month or two as we make our way across to Adelaide early May then up the centre.
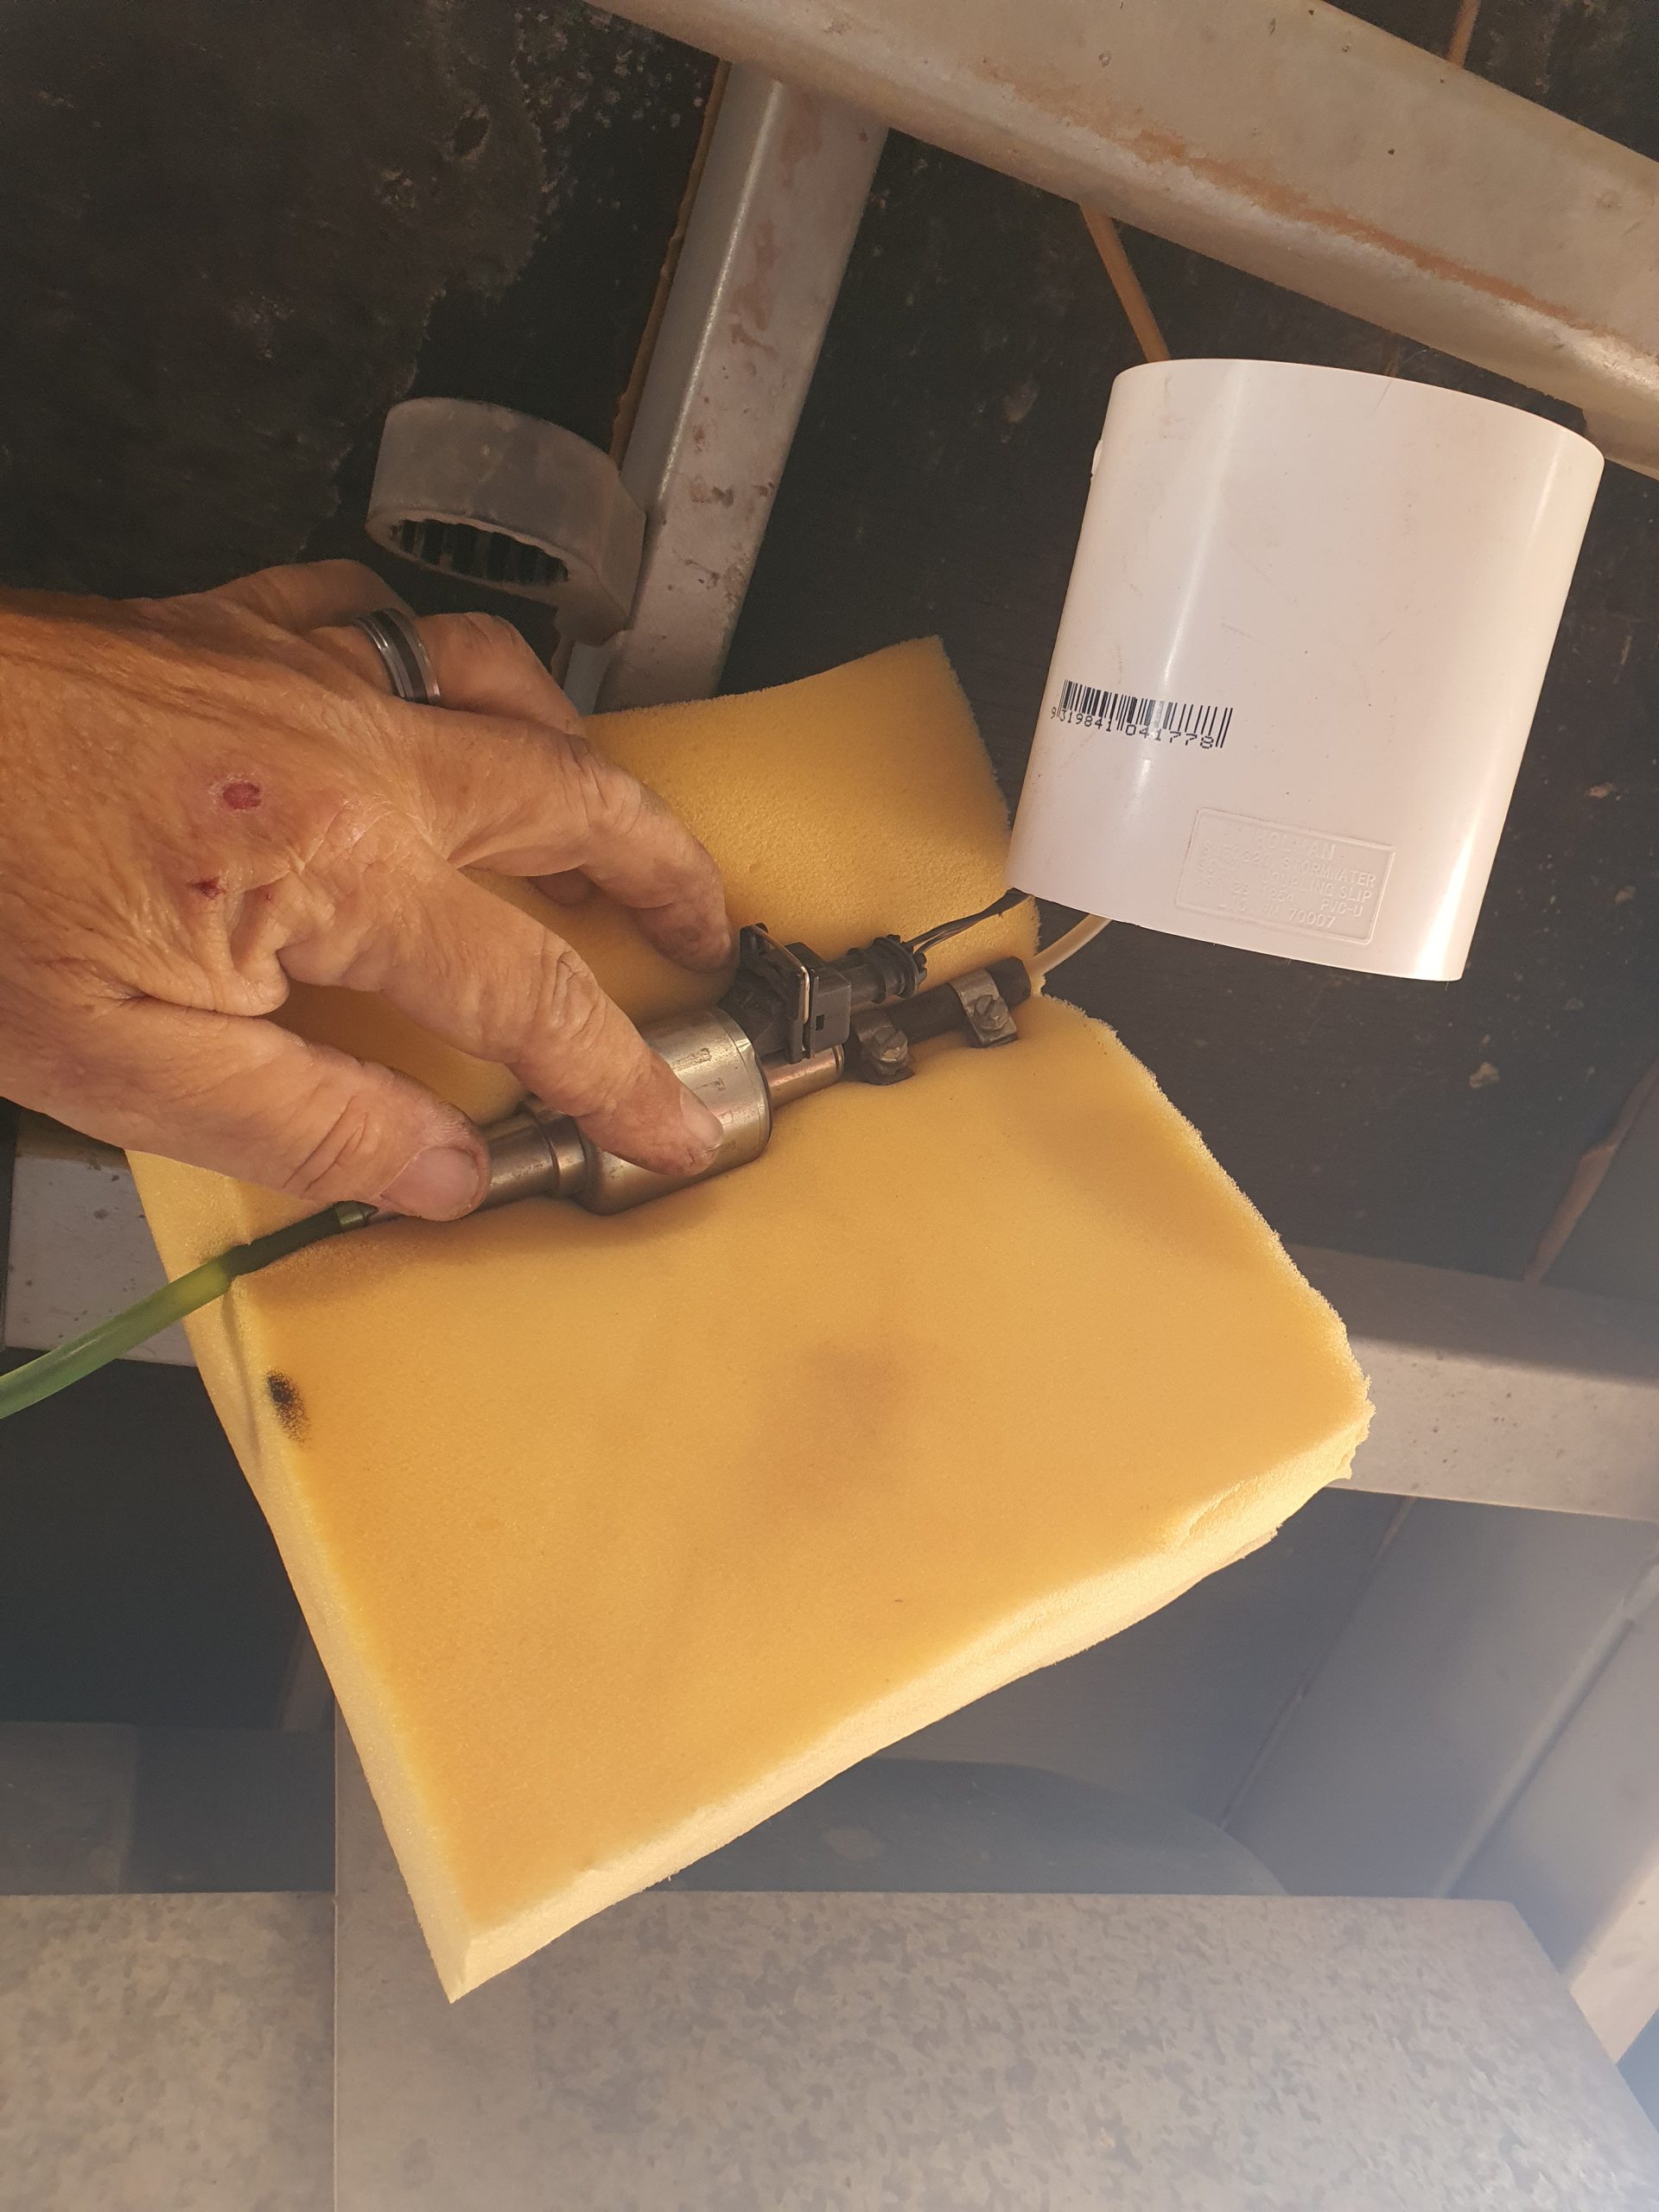
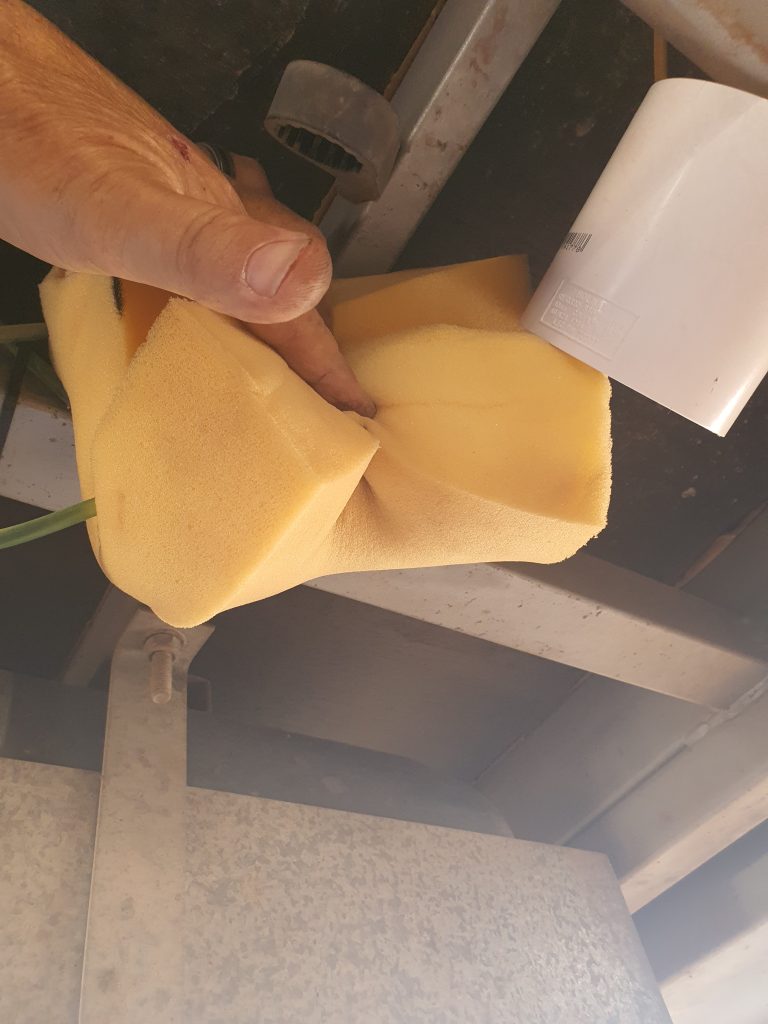
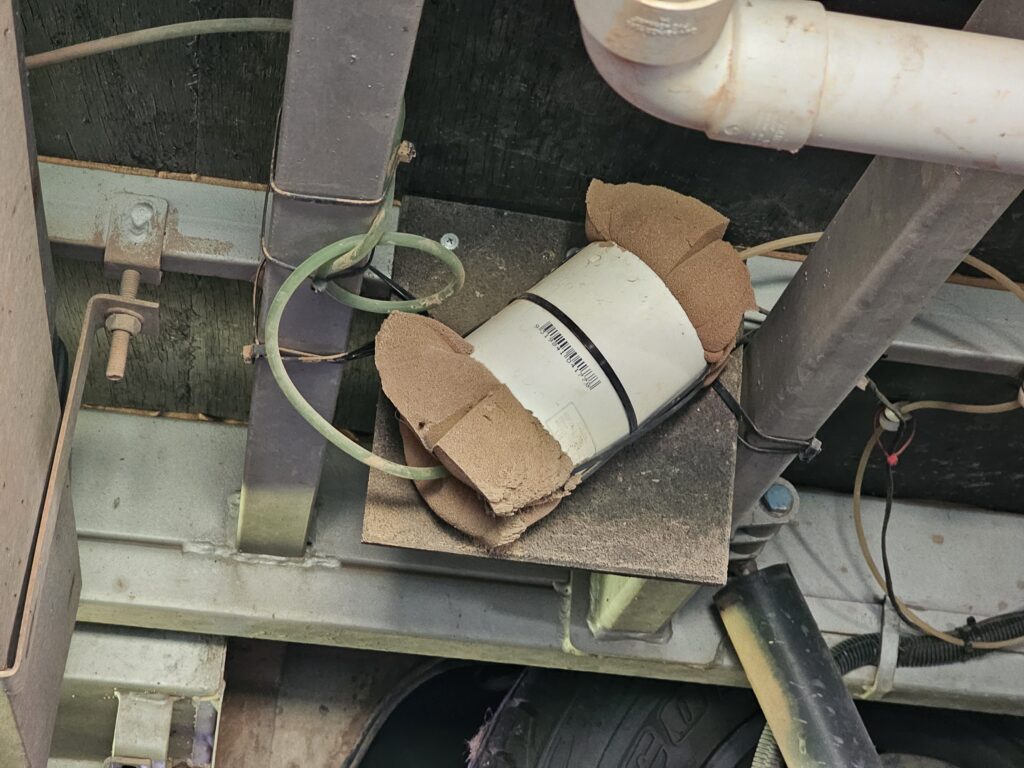
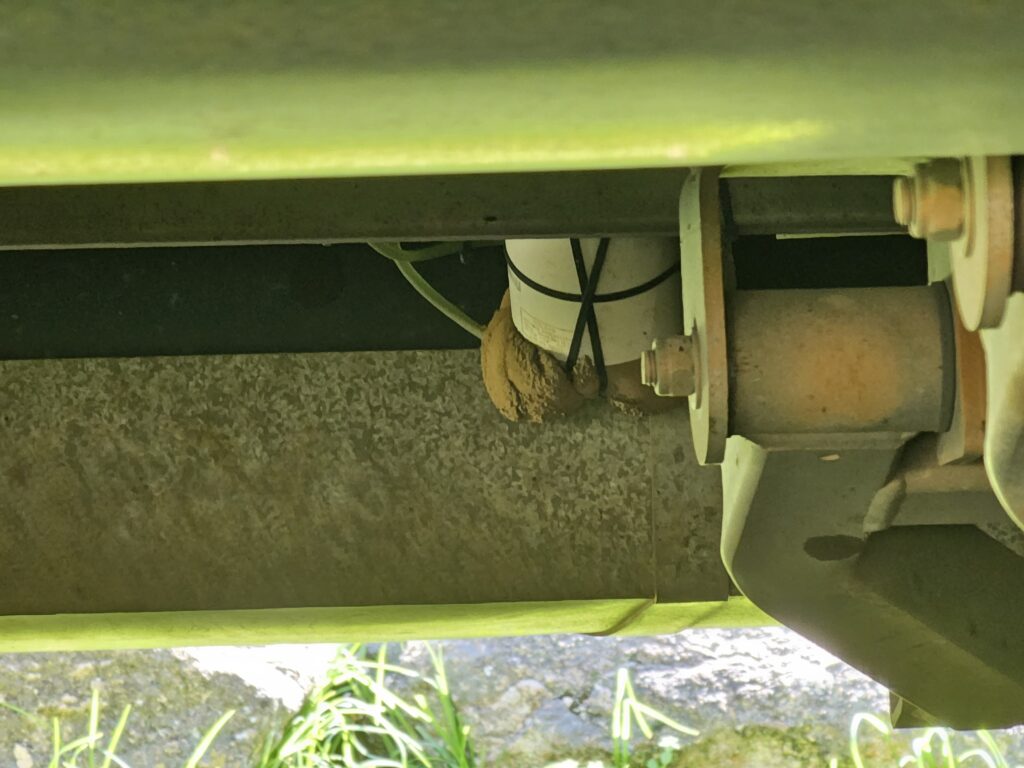
18 months later and still working well, though an update to the fuel pump as we just couldn’t put up with the noise. I had some spare 70mm thick memory foam that I kept from the old mattress topper so grabbed a piece about 20cm square and wrapped that around the pump then stuffed that into a 90mm poly pipe joiner (for joining 90mm round downpipes). Then I have a sheet of 25x25cm Sound Deadening rubber from Bunnings, that’s bolted to the frame, then the tube is bolted to the lower section of that rubber (with a cable tie for added security). I have also added some cable ties from the rubber to the cross rails to reduce it swinging around as we drive. The last two pictures are around 6 months and 10,000km after mounting.
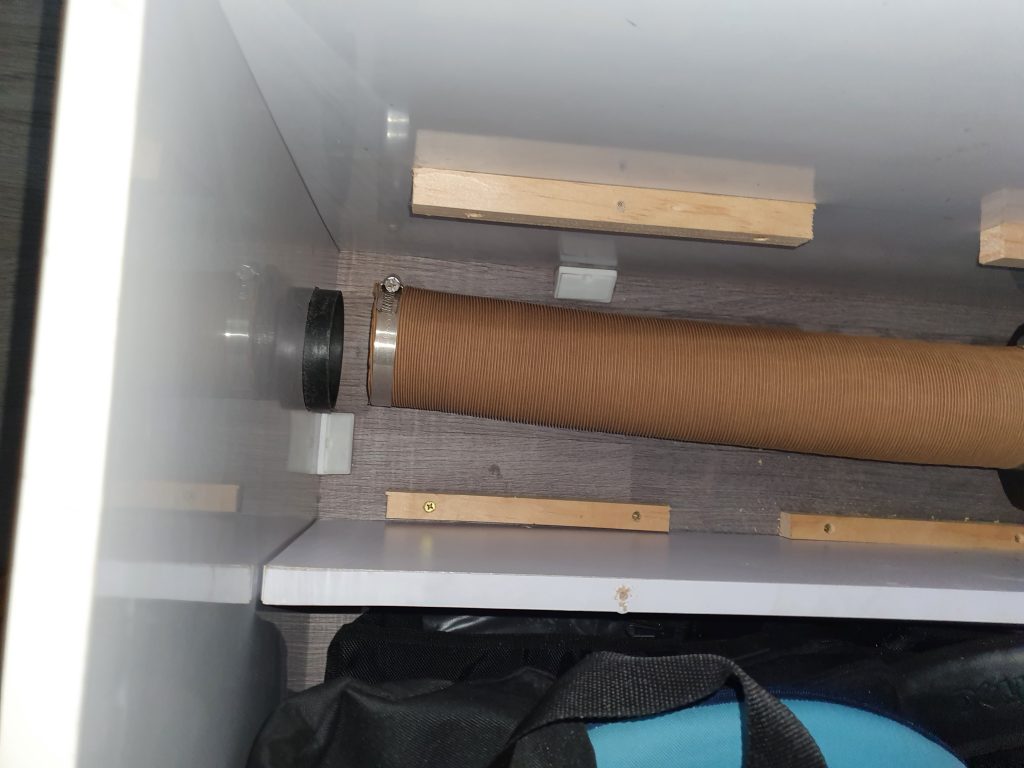
Second issue – first time in nearly a year we went to use it and the heat didn’t seem as strong but the side of the bed where the heater is was getting really warm (like REALLY warm). Next morning decided I needed to have a look so pulled the timber cover off to find the outlet tube had pulled itself back off the outlet vent… Moral of the story, make sure to over stretch the outlet tube so it is pushing itself into place over the outlet vent, then do the clamp up well and check the clamp occasionally as the outlet tube will compress and release the pressure holding it in place..
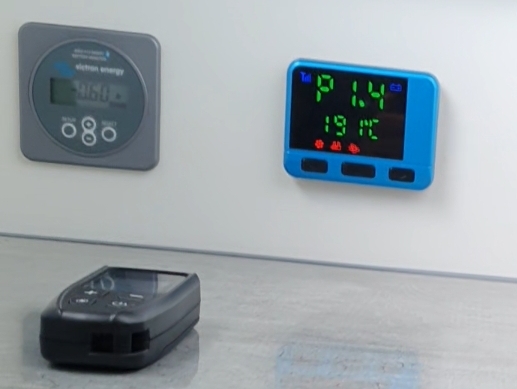
Final update for now – we were having issues with the van over heating and the lowest setting too strong, so I have reprogrammed the lowest setting from 1.4 pulses per second down to 1.1. This dropped the out temp from 196° C down to about 150°C. ran fine all night with outside temps down to around 4°C, with roof vents open about a quarter and a window open as well interior temps sat at a very comfy 18 to 20. If your controller supports reprogramming, the password for most of them is 1688, or 9009 (ours was 1688)
Thanks Dave, we’re thinking of purchasing one ourselves especially being in Vic…brerrrr 😁
No probs! Any questions let me know!
Hi Dave, could I ask how you have attached your twin jerry can holder
Hey Nathan, I used some square U Bolts from Bunnings. From memory they were 100mm and the bar is 90mm and they came with a strap which isn’t really thick/strong enough but has worked perfectly (I did mean to replace the strap but never got around to it). The bolts are inserted from the inside as close to the outer edges as possible and one as close to the centre as possible. That way it’s smooth on the inside and plenty of clearance to the jerry cans as the nuts are on the other side of the bumper bar.