
Caravan Awning and Annexe setup
Most vans these days have an awning attached to the side and are mostly fairly similar in design. Ours fitted to our Essential Caravan is a manual roll out style made by Aussie Traveller and is the Sunburst model. Rather than recreate the wheel, the Aussie Traveller website has videos specially on the set up and pack up of this awning, as well as one for setting up the Anti Flap kits, so I have embedded them all for you below to save you trying to find them.
A couple of things up front though. Neighbours at the site we just arrived at had just lost their awning. A sudden downpour over night and it turned into a swimming pool and snapped the arms and the roller, not good. Always ensure the roller is in the correct position as outlined below, and, make sure one end is lower and not level.
Some things to note.
- The roller for the awning when fully setup should have the sail track for the side wall pointing directly to the van, this ensures the awning rolls over the top and water runs off without pooling.
- When set up with the arms/posts still attached to the van as in the videos, ropes from the roller to the ground are optional, but if winds over 15kmh are expected I would recommend fitting them (I cover more on ropes later)
- When set up correctly, the awning roof line will drop about 30cm / 1foot from where it attaches to the caravan wall to the top of the roller, this will allow water to run off without pooling in moderate rain
- When setting up, ensure one end is around 10cm lower than the other, again to assist in rain flowing off and not pooling.
- If the legs are pulled away from the van and mounted to the ground, they must be secured by either broad pitch screw in pegs or/and tie down ropes. The smallest breeze at the wrong angle can and will flip the awning up over the roof of the caravan, making for a really bad day.
- When packing up the awning and rolling it back up, make sure to roll the strap in on an angle so it doesn’t bunch up.
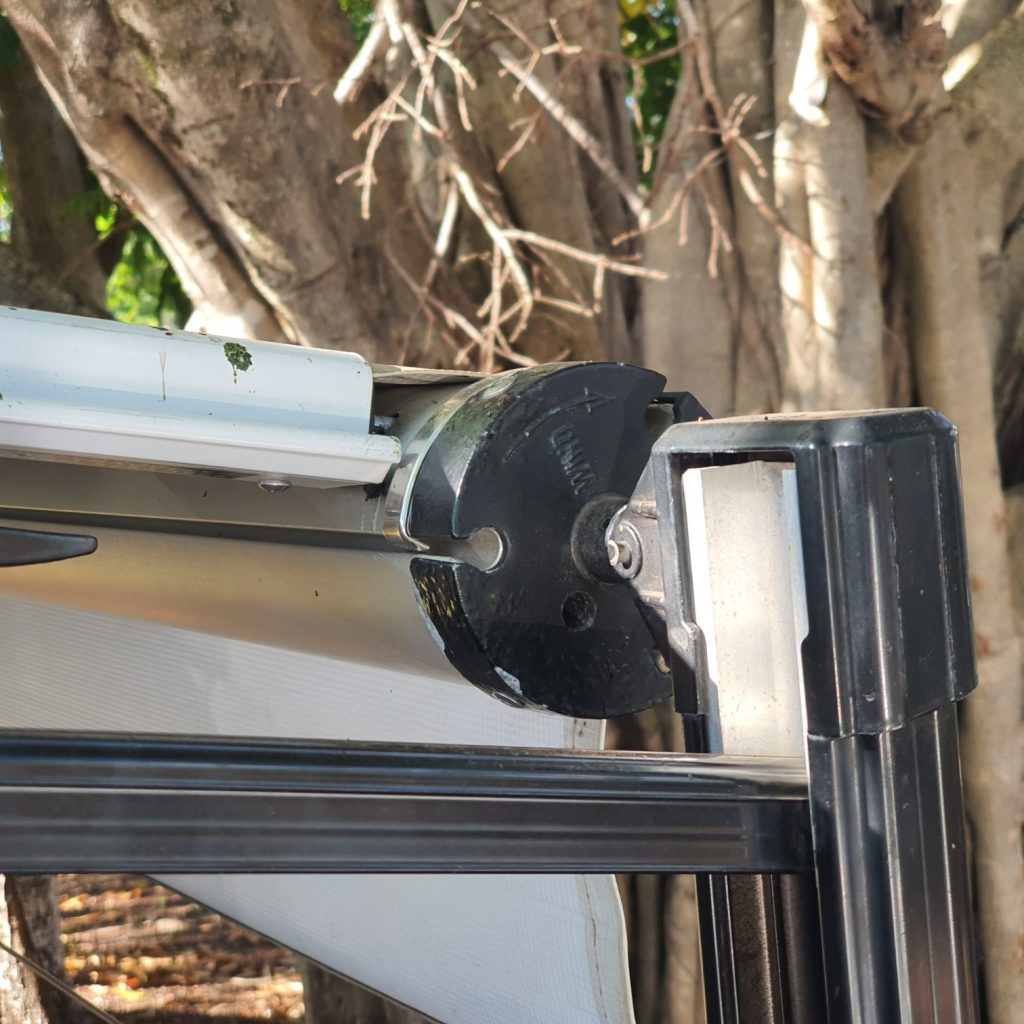
- When the anti flap ends are installed into the roller correctly, the surface of the awning will be level from the clamp to the roller, close up photo in the groups photos below
- Once completely packed up, the awning is quite secure and can not unroll by design, however Velcro straps around the arms about 3/4 up (as high as you can easily reach) is a great security to just keep everything in place.
The Aussie Traveller videos:
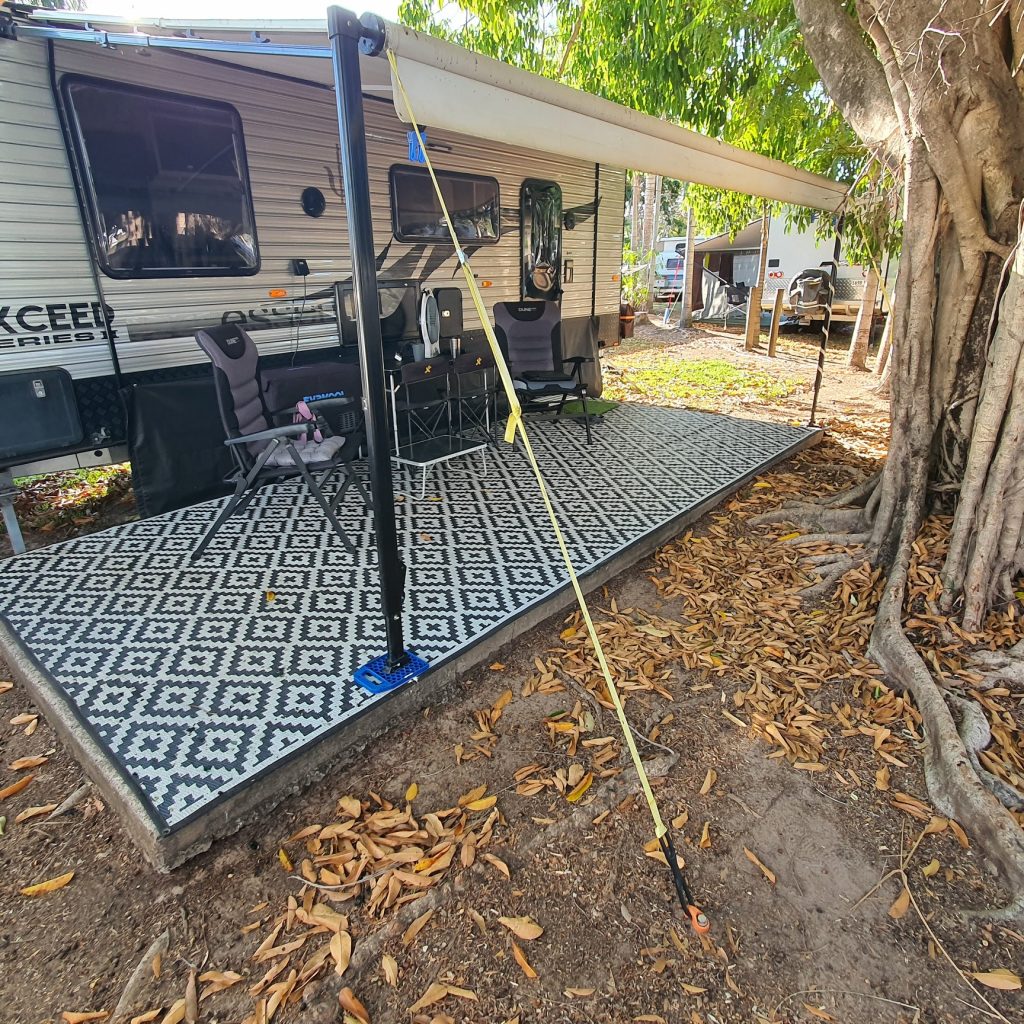
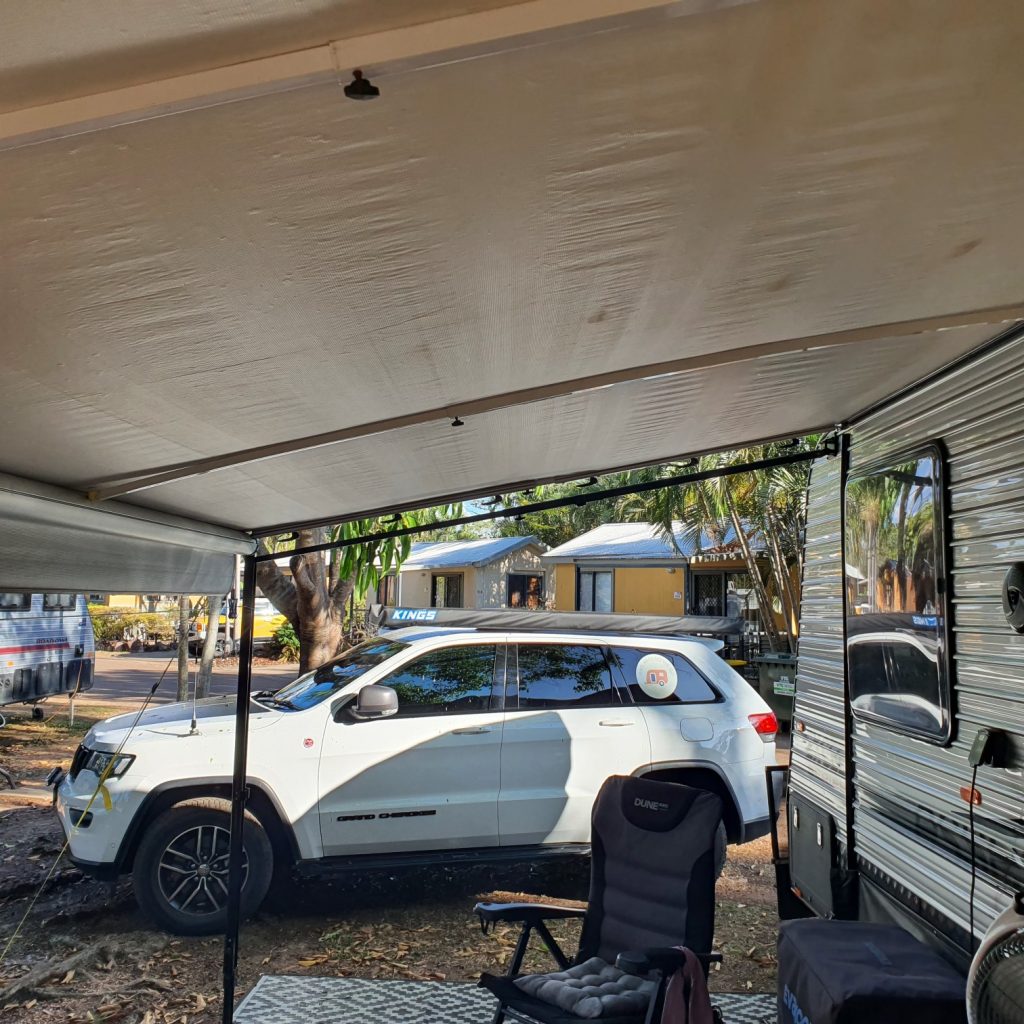
Our awning setup:
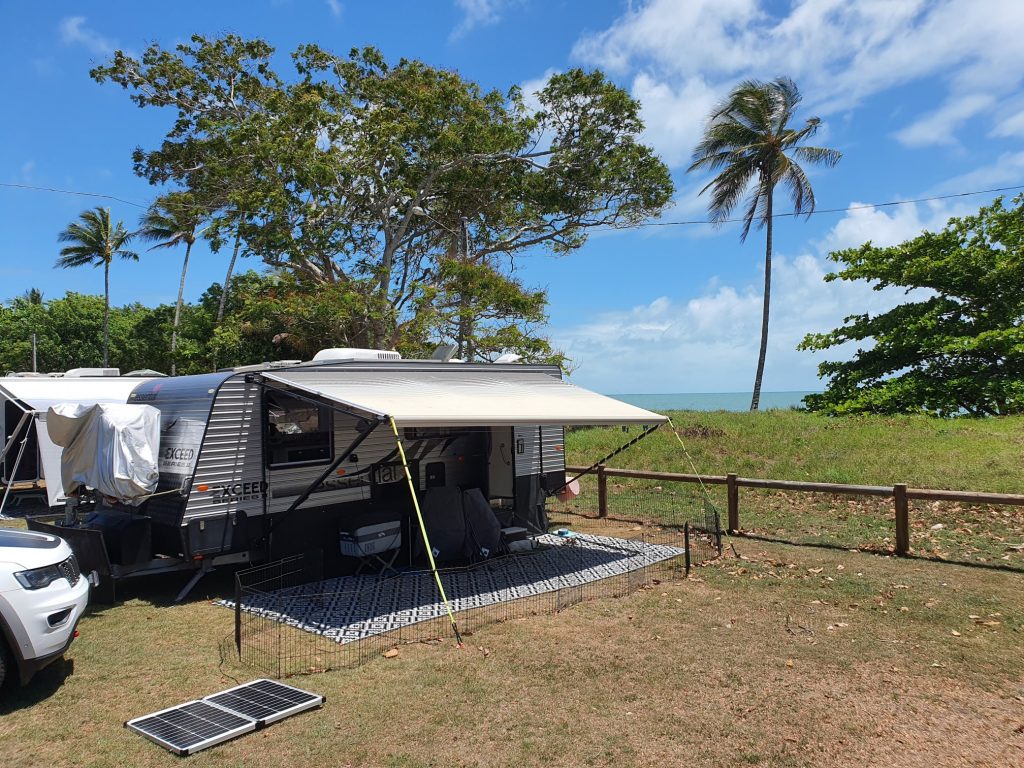
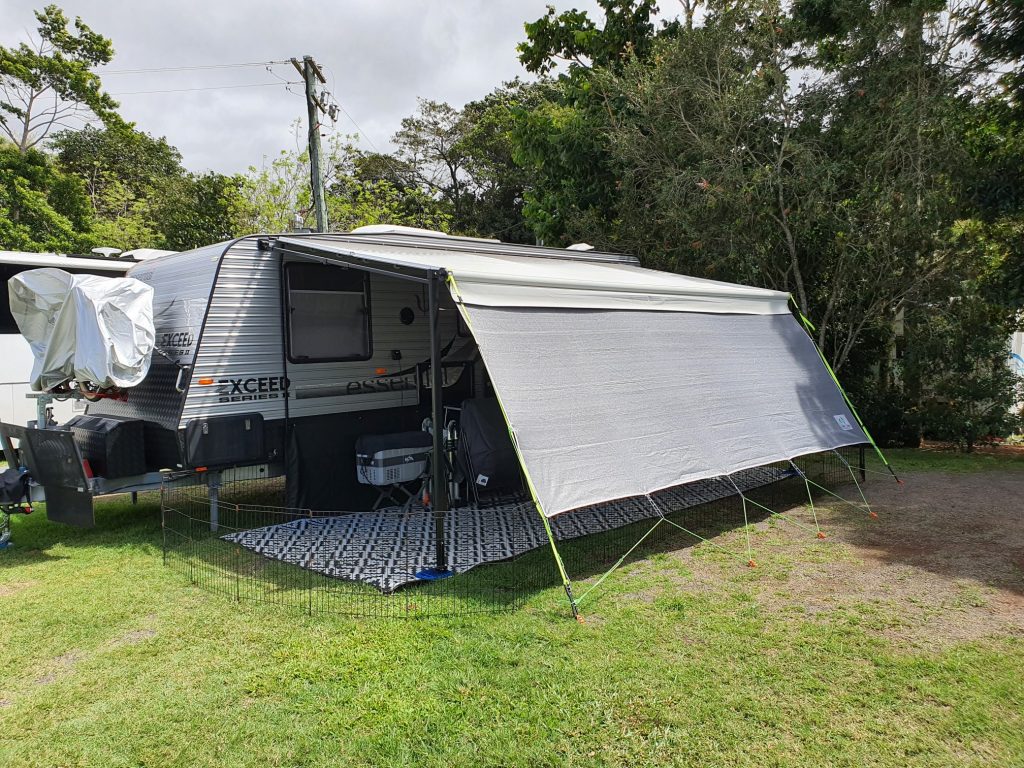
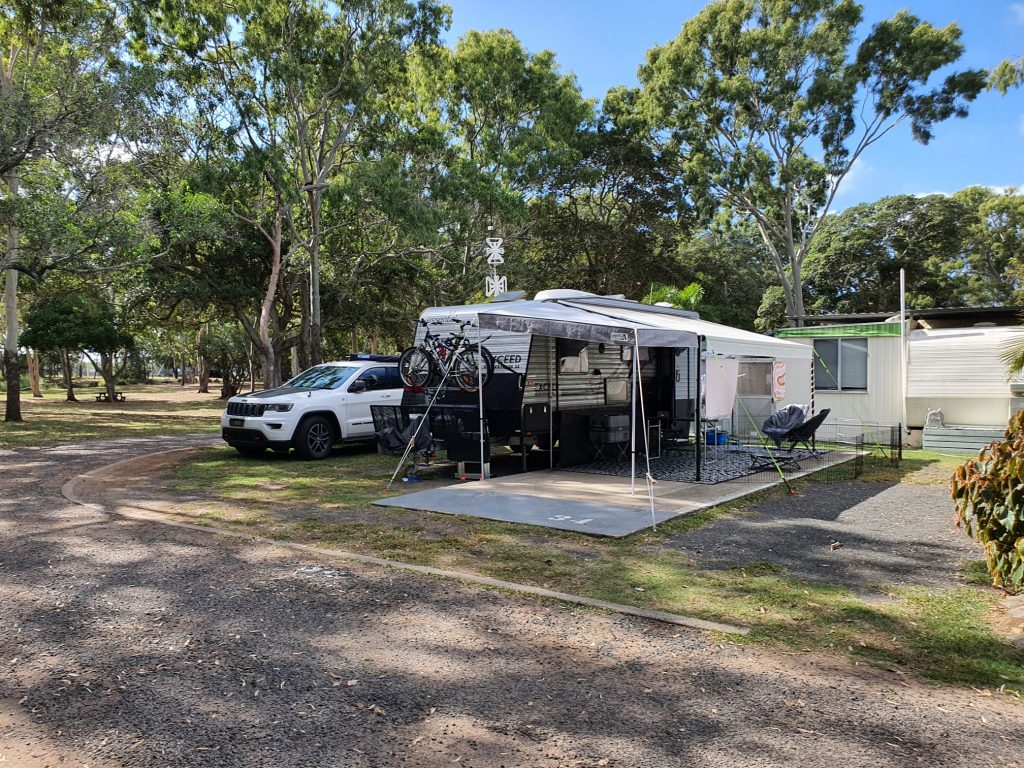
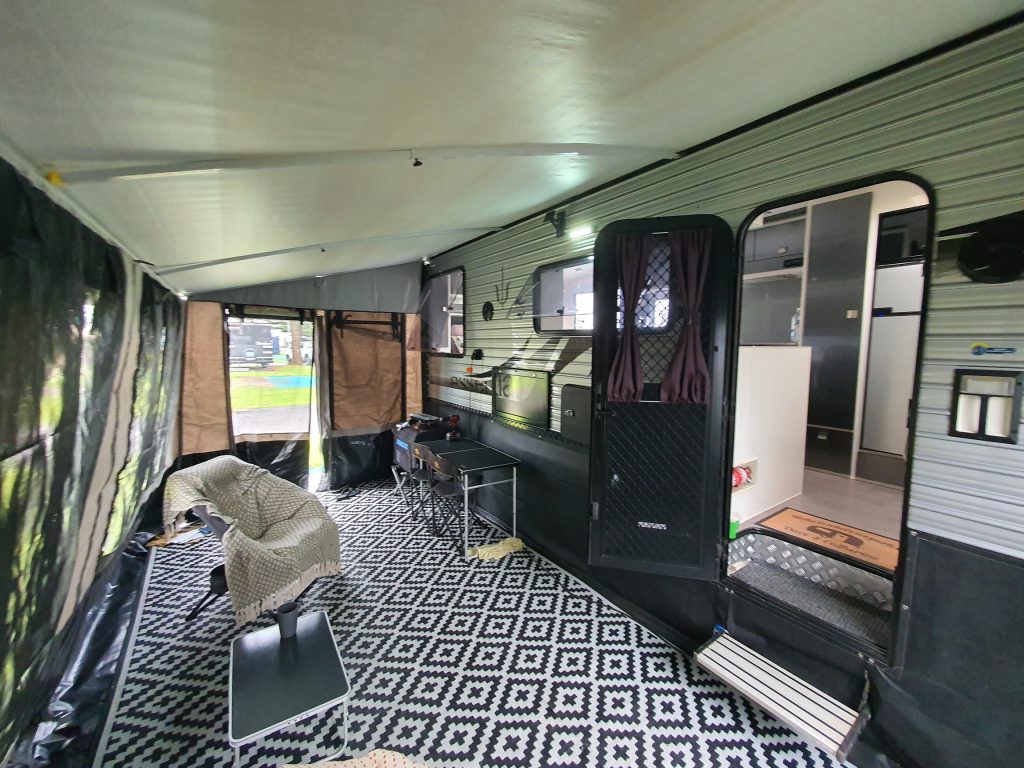
We always use the awning, every day since we have been on the road. Majority of the time with the legs pulled out onto the ground, as I keep walking into them otherwise! Probably 50% of the time we use the side shade wall for privacy and a little sun shade, occasionally an end shade wall for the same reason. Only once have we used the full waterproof annexe walls when it rained non-stop (that’s just 2 weeks in 15 months so far). Only twice we have set up the extension over the BBQ area – great concept but another 45min to set up and honestly just couldn’t be bothered! The extension and waterproof walls may get left behind next time we lap past home area, they probably account for 50kg or so by the time all walls and poles are included.
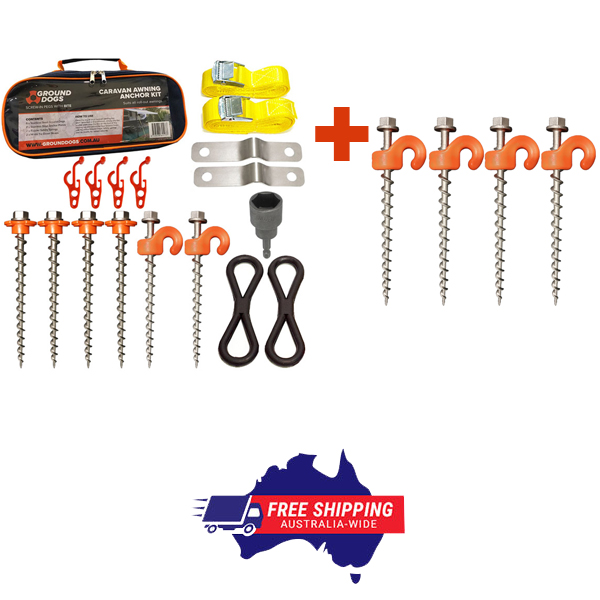
For ropes I have the usual stuff with hammer in pegs that came with the van, I also have a set of cheap Bunnings screw in pegs (about $20 a set of 15) which are thin and work OK for the floor mat but pull out too easy for awning ropes. Then I have the ones I splurged on. Given we are on the road full time and set up /pack up would be a major part of the trip I splurged on the Ground Dog pegs and am glad I did, even at $220 for the full kit (about $12 a peg plus the extra bits). I bought ours from Full Range Camping and very happy with their service (at the time they were also the only distributor). The pegs are a deep cut, very coarse thread, stainless steel and almost impossible to pull out but quick and easy to drill in and out with the included 19mm drill adaptor (which also happens to be perfect for the stabiliser legs too!). The awning tie down rope is a high vis strap, with metal buckle and a rubber ‘bow tie’ spring and you simply pull it tight. They are supposed to loop over the roller, however I have added an awning clip as this is really quick to attach (I find looping over and through then pulling the strap through the buckle tedious – however we are only talking 20 seconds versus 2 seconds!).
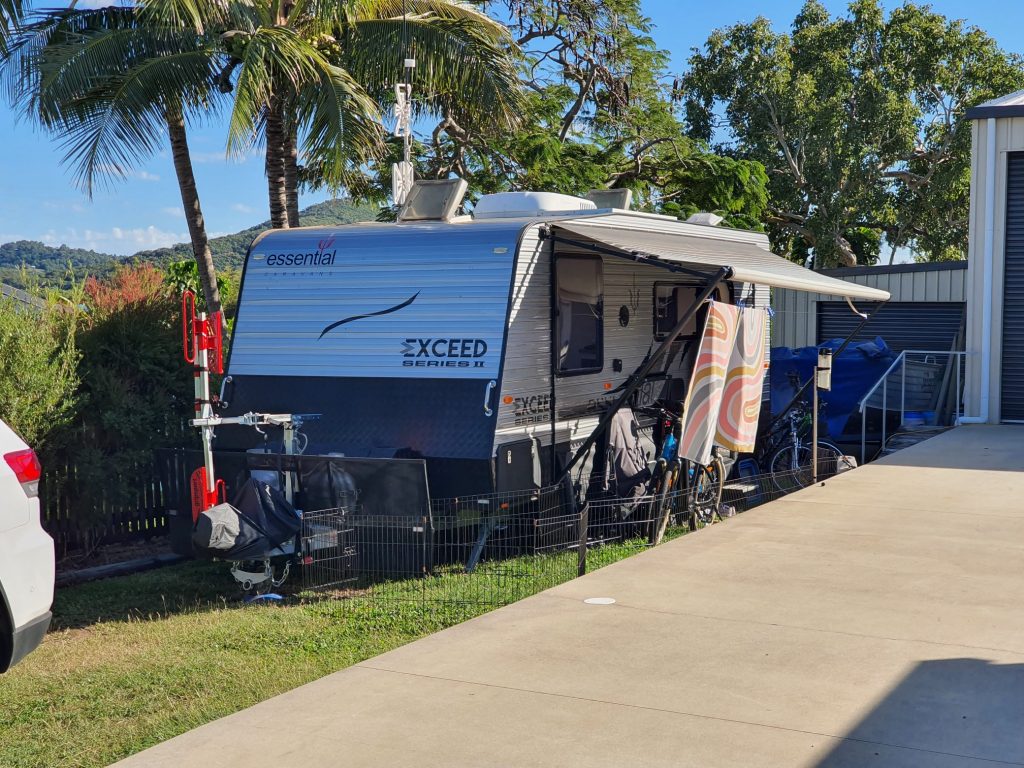
So since a picture paints a thousand words, here’s another 11,000 words… 😂 Click a picture for a full screen view
Darwin NT!
Seaforth QLD
Bonadio Nature Park, Yungaburra QLD
Bargara QLD
Uncle’s driveway – Mackay

Port Macquarie NSW
The Entrance NSW (very wet!)
Darwin NT.
Darwin NT.

Still in Darwin…
Questions, comments, feedback, your experience, let us know!
Recent Comments